The build began today! JB and his team arrived at 7:30 and got to work.

Oliver, Ruby and Rose had to spend most of the day in the top floor kitchen/lounge/dining room while the Great Wall was being constructed. See how stressed they look? Actually, later Oliver hid under the couch and Rose behind the TV but only for a little while when things got quite noisy, so we were glad of that.
 This is the top floor landing before the Great Wall.
 And here it is after the Great Wall was erected. The Great Wall is designed to keep the cats safely inside the top floor flat out of the way of the builders. The wall will also prevent most dust and some of the noise traveling up to this inhabited floor.
 When finally released, the trio were quick to inspect the workmanship: it met with their satisfaction.The door has been recycled from downstairs – for 110 years it was the door to the larder/pantry and now here it is three floors up!
 The view from the other side of the Great Wall.
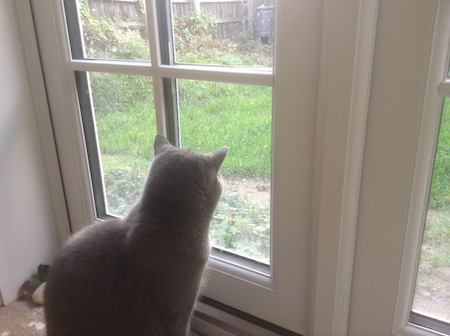
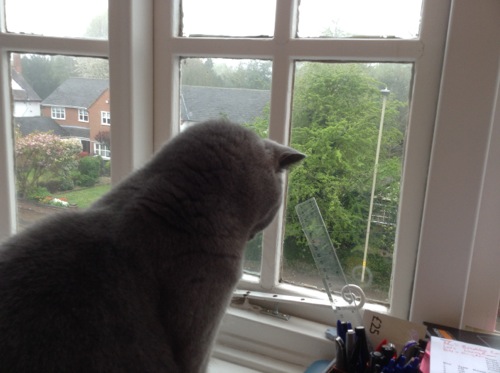
 For much of the day Ruby observed from her vantage point.
 She watched as three truckloads of junk from the breakfast room were removed. All those weekends of lifting carpets, pulling down curtains, demolishing shelves and so on were cleared away in a couple of hours.
 Meanwhile, serious work was going on downstairs. Internal doors and architraves were being removed.
 External doors and windows were being demolished.
 Servants bells were set aside for safe keeping.
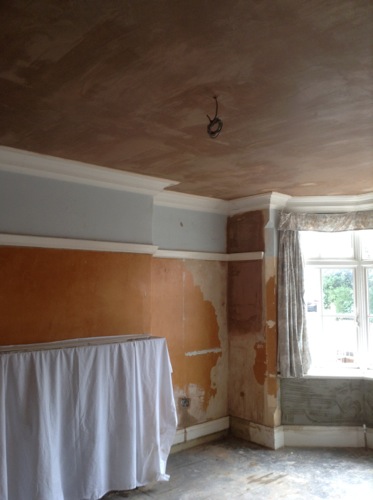
 Breakfast room (original kitchen) cleared, door and window removed. Much plaster brought down. This is the future kitchen. Can you believe we were once considering replacing this original quarry tile floor? Granted it’s a bit dusty but it will restore beautifully.
 The boiler and chimney breast are still be removed. The structural engineer is coming on Thursday to advise.
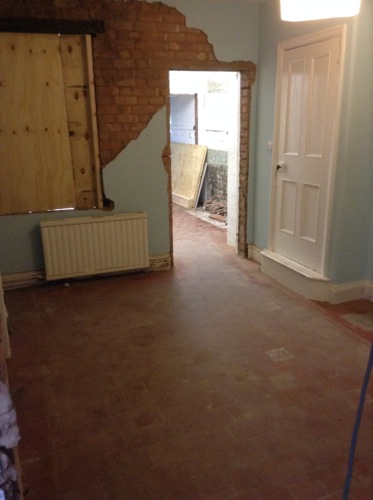
 In the old kitchen, even older scullery, future meals room, the window and door were removed as were most of the cabinets and shelves. Looking at the wall we can see various colour schemes from over the years. The lower rectangle shows a wall of two tones (yellowish browns, though they may have been lighter originally) with a red dividing stripe. I have seen this before in National Trust properties and am fairly confident this was the original colour. At some point the walls were painted that dark navy blue. It is the same colour I have found traces of in the hallways and stairs and I think this was probably a 1950s or 60s scheme. It would have been very dark.
 Looking back through towards the future kitchen.
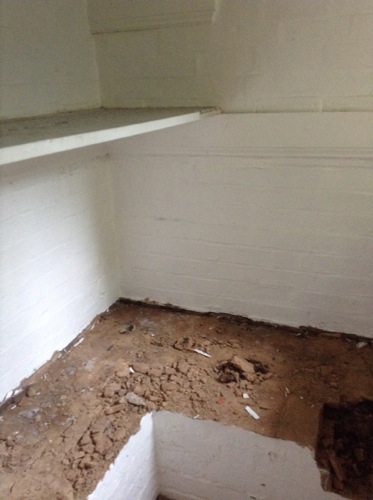 The larder/pantry was stripped of it quarry tiles for re-use. A pair of double doors will go through the end wall through to the garden.
 Outside the cavities were boarded up ready for the bricklayers who are coming on Thursday.
 New kitchen window to go in here, doorway on left to be bricked up.

More refuse leaving.
 On some of the newly exposed bricks were Edwardian builder’s notes written in pencil.
 While all of this was going on, I continued to strip wallpaper in the bedroom. Before.
 After.
 The original moss green on the walls goes quite well with the hearth tiles.
 I also made a start on the future en suite. I didn’t need the steamer for what you see here as it just peeled straight off the plaster – the moss green as well! There are about four layers of paper and a few layers of paint as well.
 The pale green paint covers a dark green 1960s or 70s pattern featuring squiggles and circles. Under that is a pearlescent coral coloured paper.

Between the two are a few traces of a floral paper.
 Some more fragments.
I think that’s all for today!

 The master bedroom was basically finished months ago but only today were the roman blinds installed. Until now we just had old sheets pinned to the window frames, which let a lot of light in during the night (there’s a streetlight opposite) and I’m not sure how opaque they were in terms of privacy… All that is just a memory now as these new blinds have block-out fabric that I will test tonight.
 So what have we done in this room? Walls have been stripped of the old wallpaper, patched and plastered. New electrics installed and the radiator was moved. The ceiling was overboarded and skimmed because the old ceiling had severe cracks. I never had the heart to rip out the built-in wardrobe on the right, and I’m glad, even if it makes the room asymmetrical.
 We redecorated of course. The carpet was replaced. The wallpaper is Laura Ashley – Linen. Paint colours are Farrow and Ball’s ‘Dimity’ on the non-papered walls and ‘Wimborne White’ above the picture rail.
 The penetrating damp was fixed when we repaired the downpipe. A wasp’s nest was exterminated in the ceiling above the bay window. The fireplace was opened up.
 The old sink that used to block this door from opening was removed and the door reinstated for the en suite conversion in the room next door.
 We added the ceiling rose, which we feel is in keeping with the house, though originally there would have been gas lights on the walls. And the windows were cleaned yesterday – for the first time in over two years!
 Another room complete!