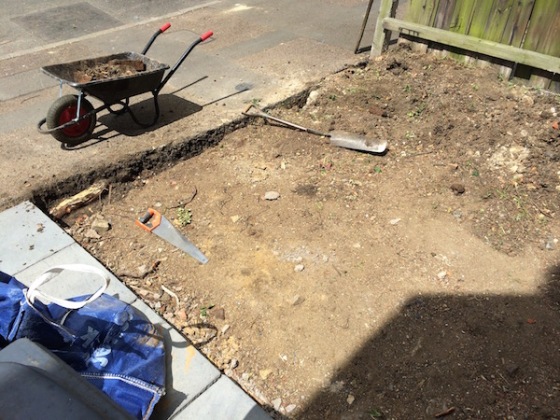
I think this post will take the record for the most number of photos, so bear with me. Or scroll until you find something that interests you. Dawn, though it’s light here from around 4am. Sadly for the little tree on the far left it would be its last day. It was ugly, with prickly leaves, tangerine coloured flowers that turned into little sour purple berries that even the birds didn’t seem to like. We are taking the front garden back to a blank slate.
 D and A did a lot of digging.
 Still unearthing roots from the old silver birch.
 These are some of the smaller roots. A and D were hacking at them with a saw but then decided to go and buy a giant axe.
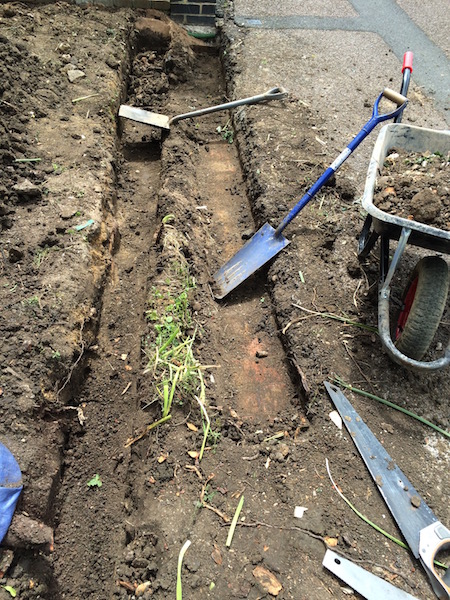 They also hit a line of bricks running along the footpath. They were red bricks laid neatly in a header course so I don’t think they were foundations for a wall. My guess is that this was the original level of the front garden and these were the bricks marking the boundary. They were the same bricks that the stump grinder hit in the middle of the tree trunk, which means that the tree, which was around eighty years old, grew over the bricks.
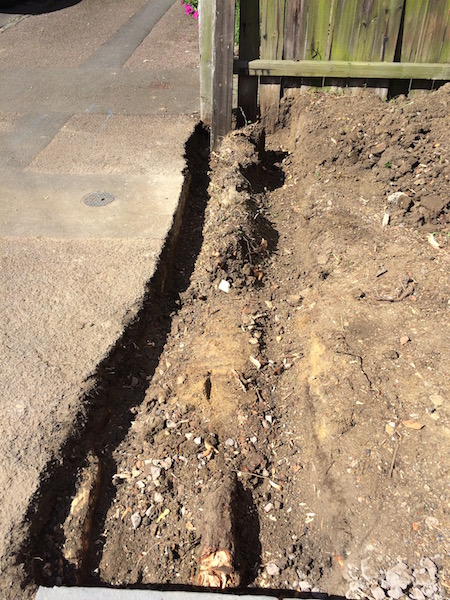 You can see that there is no straight line along the footpath so we will fix that. You can also see how the ground level has risen, burying the bottom eight inches of the fence.
 Progress by the end of the day. While all this was going on I discovered that Waitrose have an online Garden Centre that does home deliveries, great for someone who doesn’t have a car. It is the most brilliant site as you can search for any type of plant according to garden style, position, soil type, eventual height, flower colour, everything. I ordered all the plants for the front garden, filtering my choices to ensure they are all bee-friendly.
 These pavers are going to become planters along the front of the garden. The larger ones are for stepping stones around to the side gate.
 The carpenters were also here today. They finished fitting as much of the utility as possible, though the sink unit and worktop can’t be fixed until the plumbing is done. They made the cutout in the iroko worktop for the Belfast sink with a router. The offcut will be made into a nice chopping board.
 Cornice work on the units.
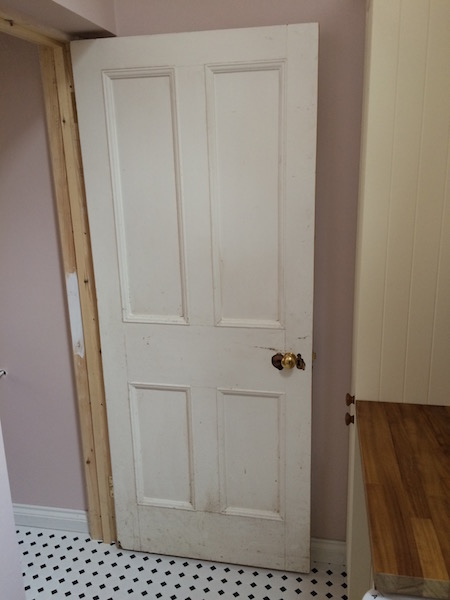 They fitted skirtings, architraves and doors. This door for the toilet has been reclaimed as it was originally the door into the old scullery, which became a kitchen in the 1950s and is now our breakfast room. It will look better when it’s painted.
 New rim latch and knob. The dent in that panel was made when the door was in its original location – when opened it would hit the handle from the door on the servant staircase. I’ll have to remind T the decorator not to fill it as I like that it tells a story.
 Now for our Alice in Wonderland door.
 I’m less sure about the success of this one. This door has be re-sited from its original location, which was the cold store larder. In order to fit the new narrow space a great deal of the door had to be trimmed, so much so that there is barely anything left!
 The door will be open most of the time though. I might do a trawl on eBay and see if I can locate a door more in proportion to the space. Once it’s painted, however, it may look fine.
 They also built a shelf for that space above the door.
 I got up on a ladder to see how it fits.
It’s a nice job and it will be a perfect place to store Chrismas decorations, picnic baskets and such.
 Architrave around the stained glass toilet window. This is fast becoming my favourite room in the house. Perhaps because it’s the only room we have actually created from nothing. This was originally the covered courtyard space used to access the servant toilet and the coal store.
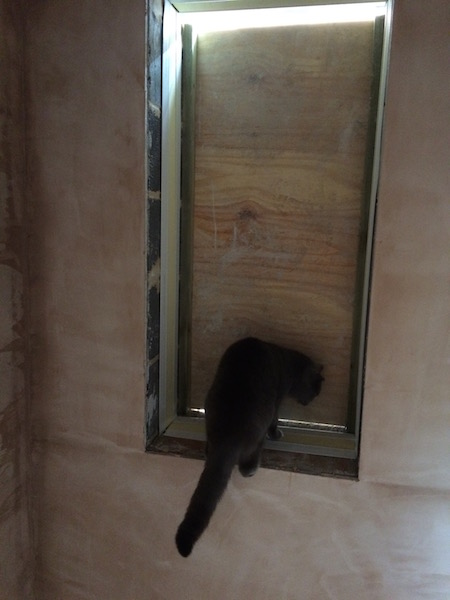
 The breakfast room has become a building site. The servant toilet used to be about where the cat tree is sitting, and that space on the right with the little window used to be the cold store larder.
 They also removed the suspect piece of picture rail in the lounge. When P the damp-proofer saw it a few weeks ago he said the swelling and cuboid-like cracking pointed, potentially, to dry rot.
 No rot! It was just a big knot in the wood that had bulged out of shape.
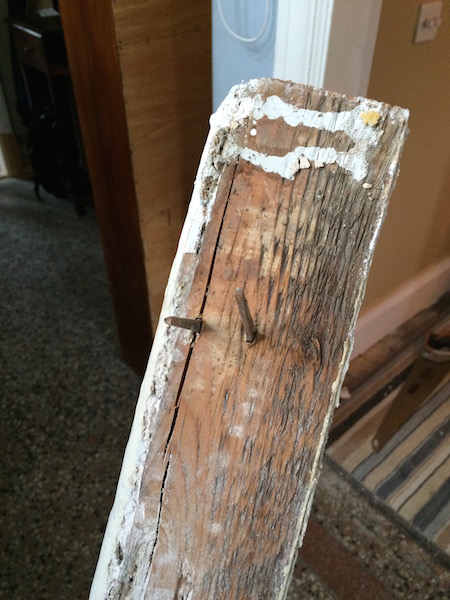 Other cracks caused by the nails. That was a releif.
 The carpenters also completed other little jobs around the house. The threshold from the hallway into the kitchen was fixed down. You can hardly see the plugs covering the screw holes.
 They trimmed and refitted the top bathroom door.
 Top floor cupboard door reversed and now with the rim latch refitted.
 Original paintwork on the latch. As far as I can tell, all of the woodwork started out either stained dark brown or was painted this buff brown colour. You can see it also under the flaking paint on the door surround. At various other times the woodwork has been mint green and navy blue.
 Little bit of skirting refitted in the top floor bathroom.
 T, the decorator, worked on the servant stairs. Original dark wood finish to the stairs. I ripped out the original carpet runner last year. For weeks after we first moved in we thought we had some sort of gas leak in the back of the house but it turned out to be the smell of that carpet.
 Door with its original stain. The darker brush marks were intended to give the impression of a more expensive hardwood.
Looking up the stairs. T painted the walls first.
 Then the timber was given its first coat.
 You can already see how much brighter it is going to be.
 Looking down before.
 And after.
 The landing was also painted.
 And the old servant bell.
 Looking through to the guest room.
Much more to occur this week as we push through to the completion of Stage 2. The guest room is part of the Stage 2 challenge as it needs to be ready for Frogdancer, whom I am meeting up with in London next week.


 The high level cistern toilet actually backs onto the original doorway for the servant toilet, which was converted into part of the breakfast room in the first stage of the renovation.
 That’s what the original toilet looked like. That was part of the reason for my choice of a traditional looking high level cistern toilet in the new space.
 Velux window for light.