Today we had the last of the carpet installed on the stairs, hallways and landings.
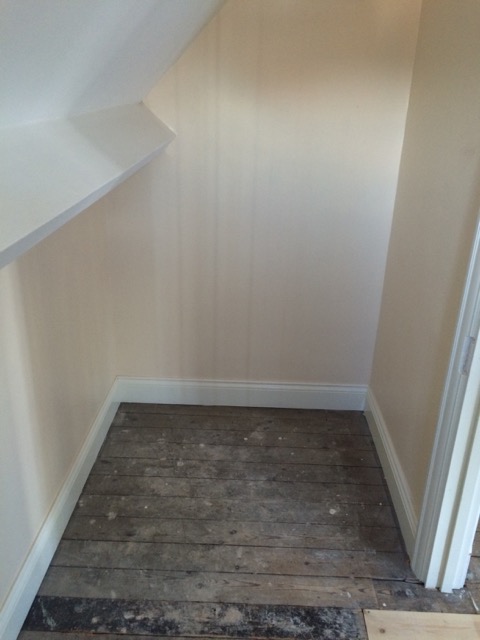
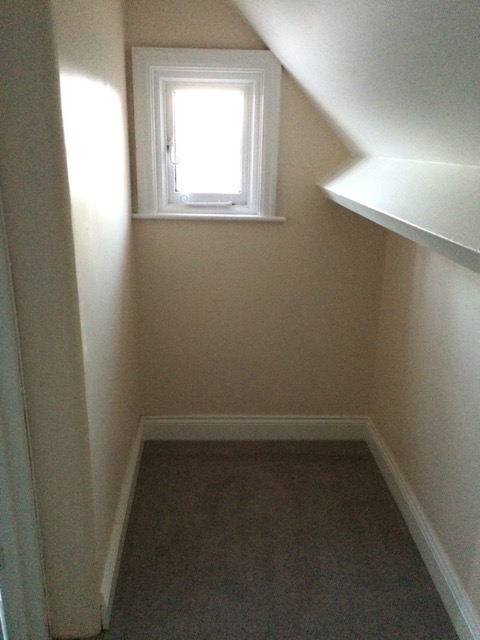
 And also in the creepy top floor cupboard. View 1, before.
 And View 2.
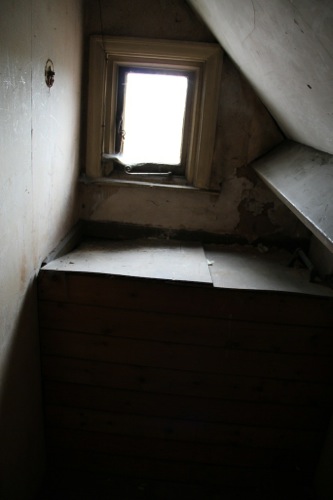
This is why it’s known as the creepy top floor cupboard. Remember how it looked a couple of years ago? Complete with the old header tank, lead pipes, gas light fitting, woodworm, cobwebs, 1920s newspapers, collapsing ceiling and that little hole into the roof I lost the cats in?
 Just look at it now! It could almost be another bedroom, or a least a box room (as tiny bedrooms are called in this country) for our steam trunks, portmanteaux and the like. We use it for general storage, which actually does include our suitcases.
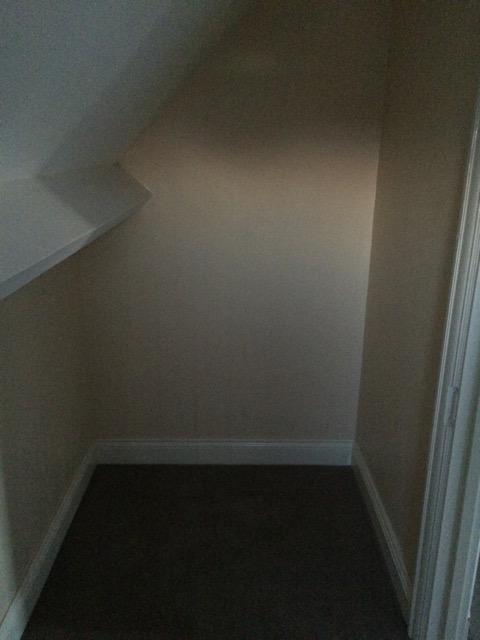 It was a bit dark when I took these but you get the idea.
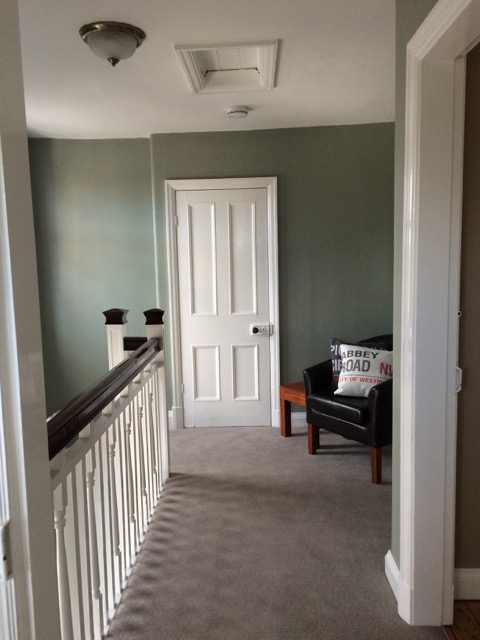
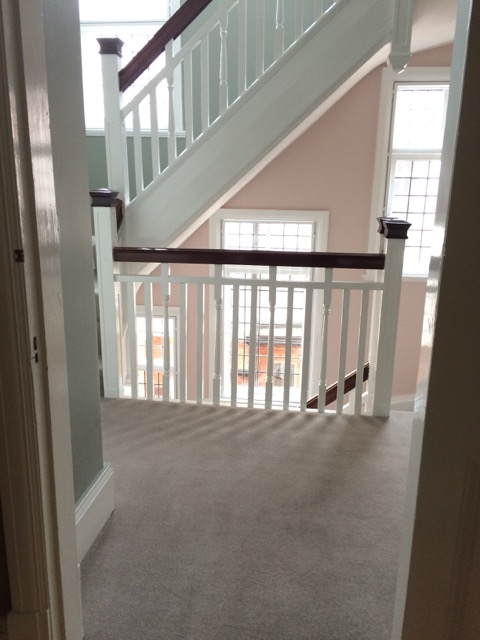
 Top floor landing, View 1.
 After.
 Top floor landing, View 2.
 After.
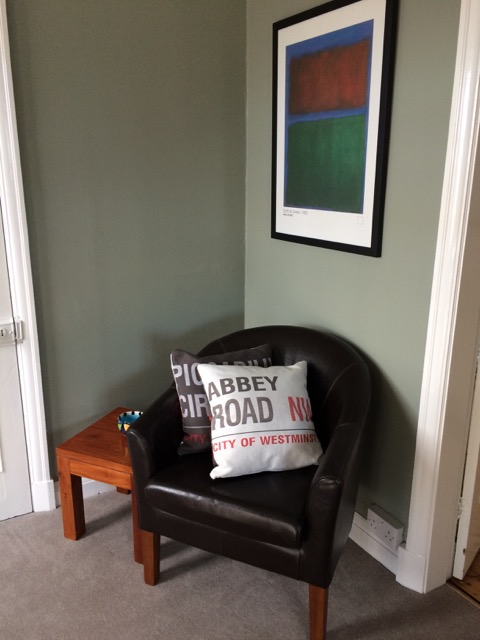 Reading corner on the landing.

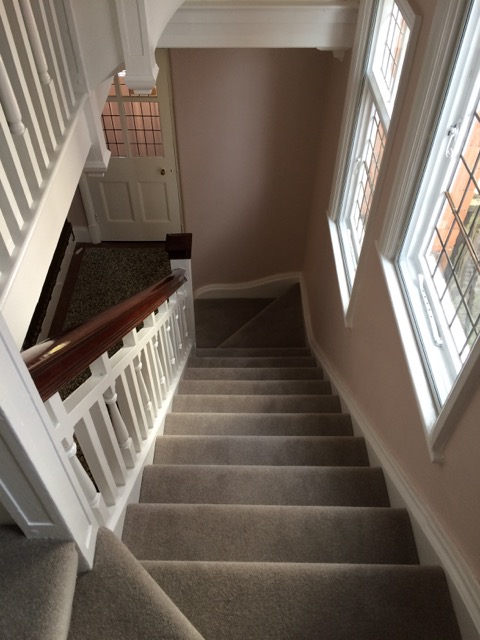
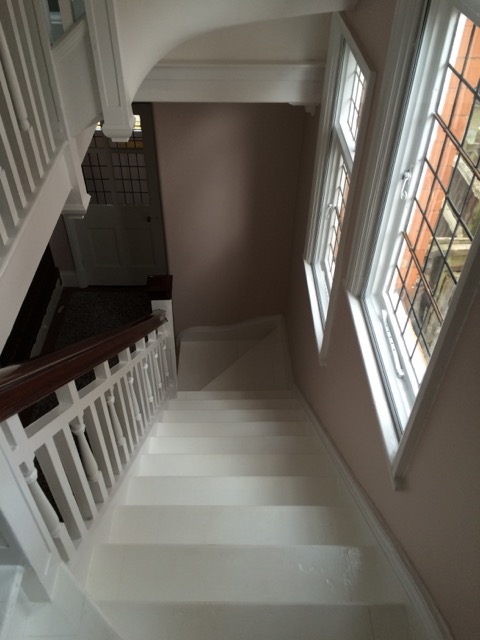
Heading down the top flight of stairs.
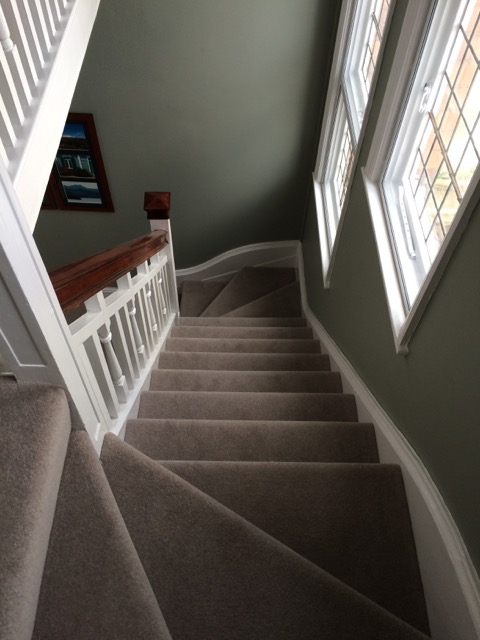
You get the idea.
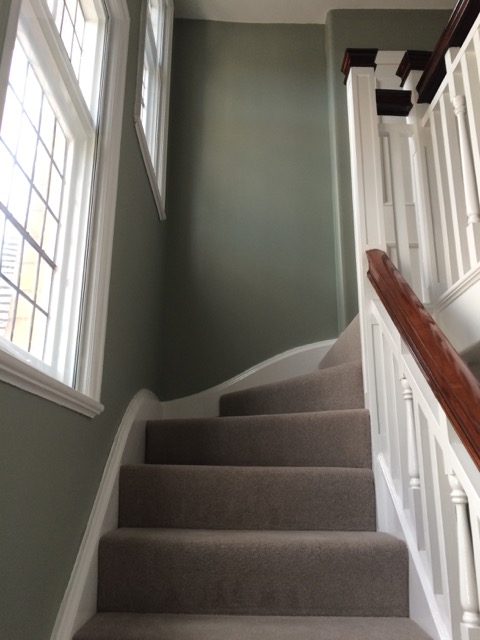
 Looking back up again.
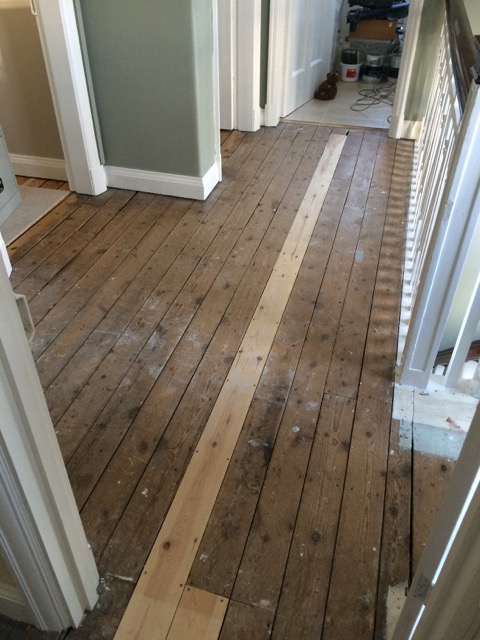
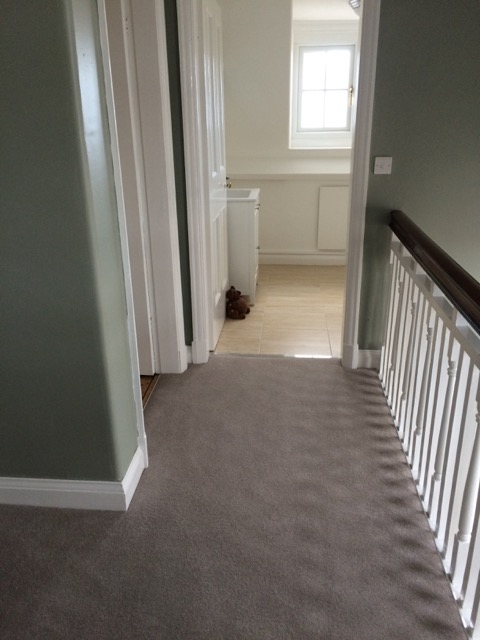
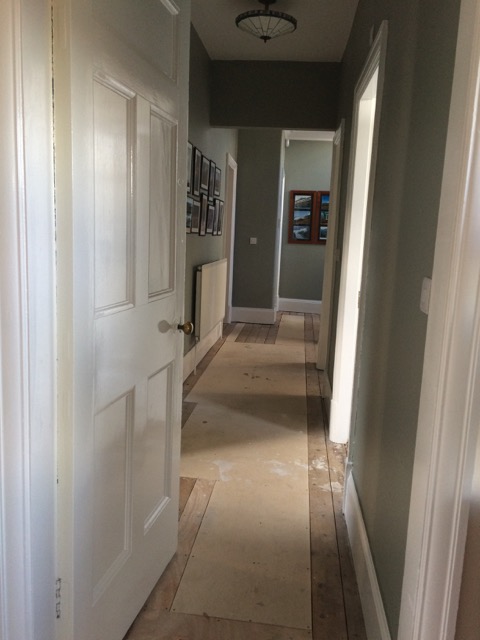
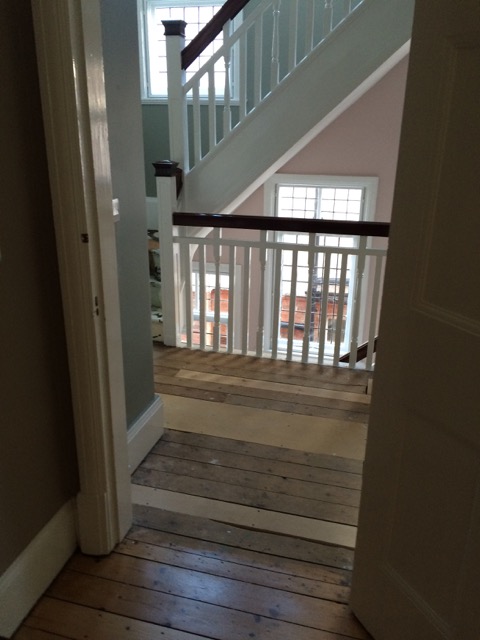
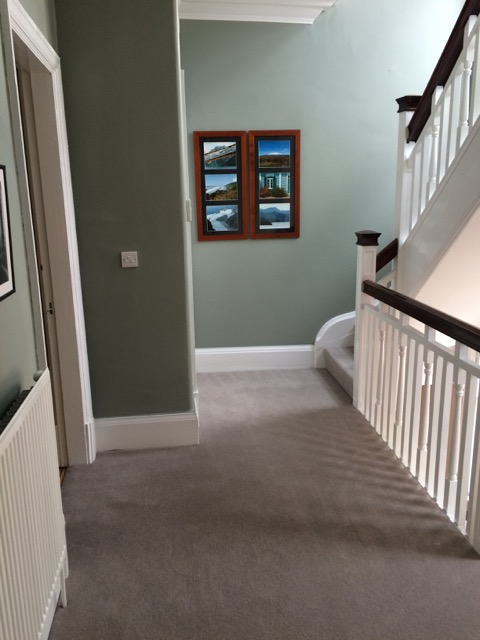
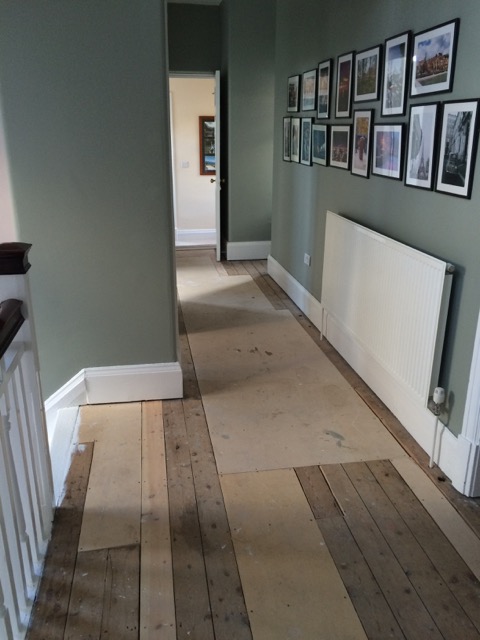 First floor landing and hallway looking in the direction of the servants landing and maid’s bedroom beyond.
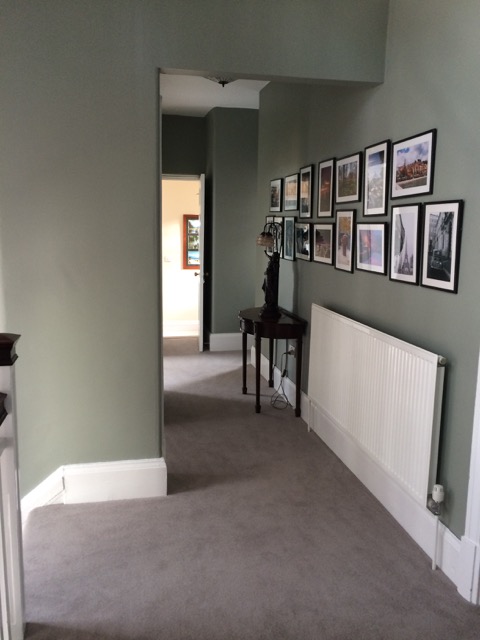 And now.
 View from the servants landing.

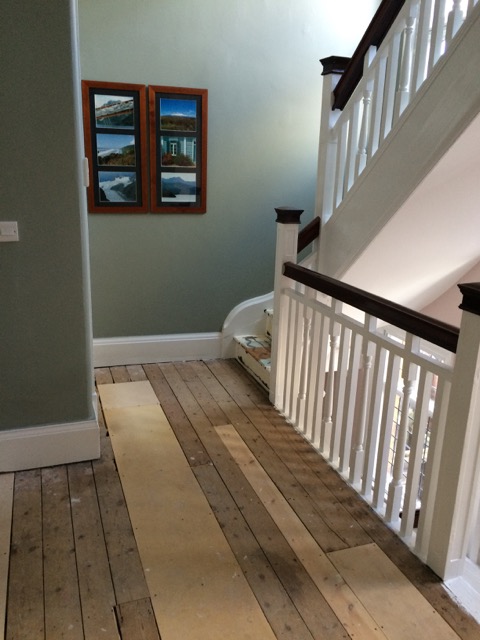 Back towards the main staircase.

 View from Bedroom 1.
 The closest I got to a matching picture.
 View from my study.


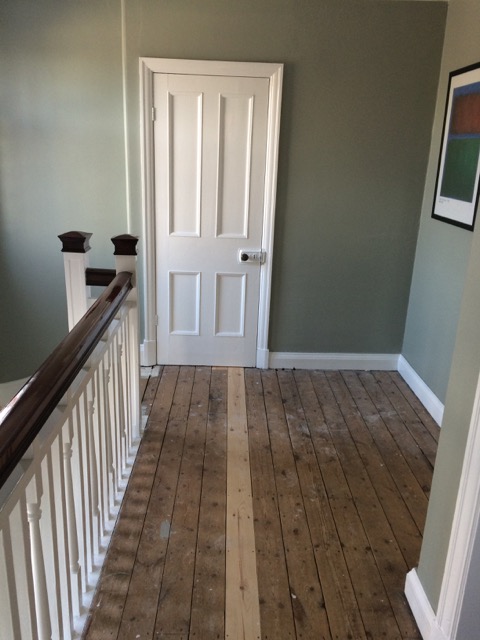
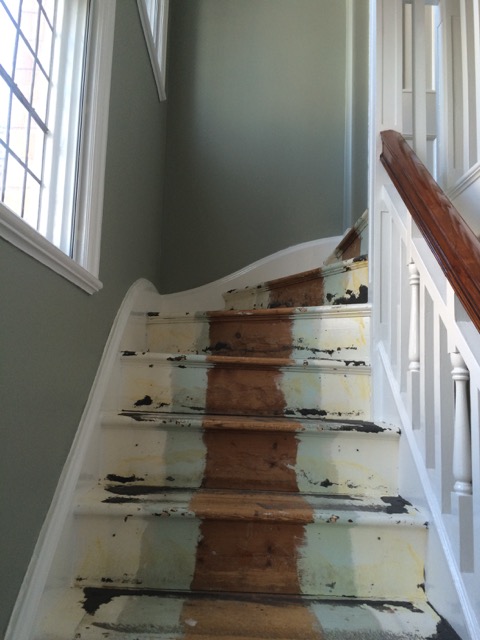
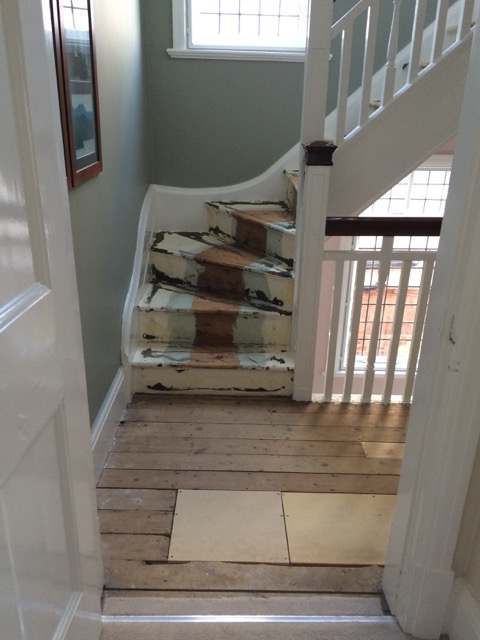
You may recall that I painted this flight of stairs last year.
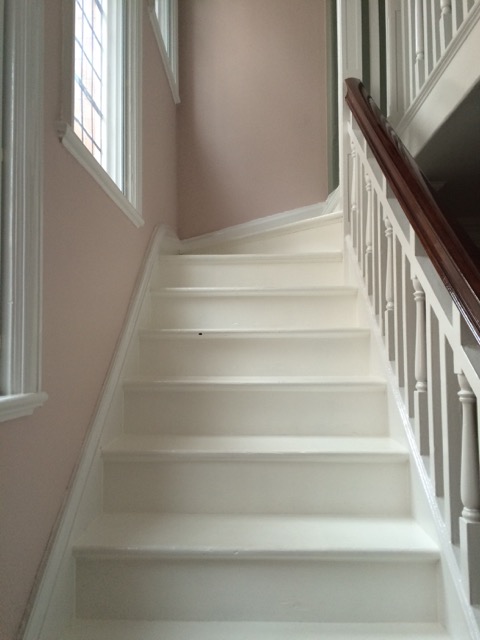 It was always going to be a temporary measure but I had planned to have a runner fitted to this flight so that all my efforts painting the stairs wouldn’t go to waste.
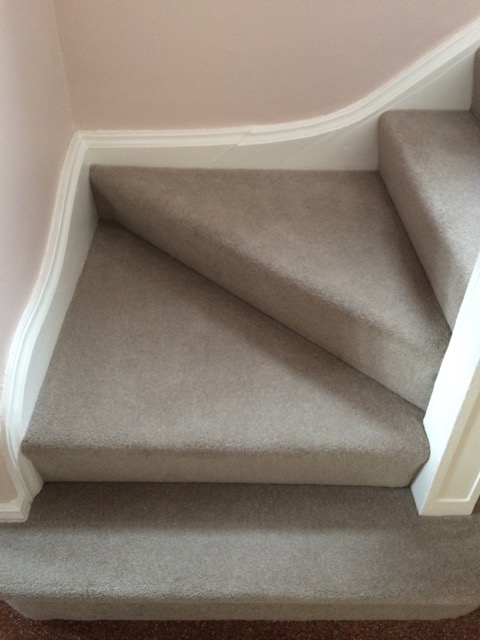
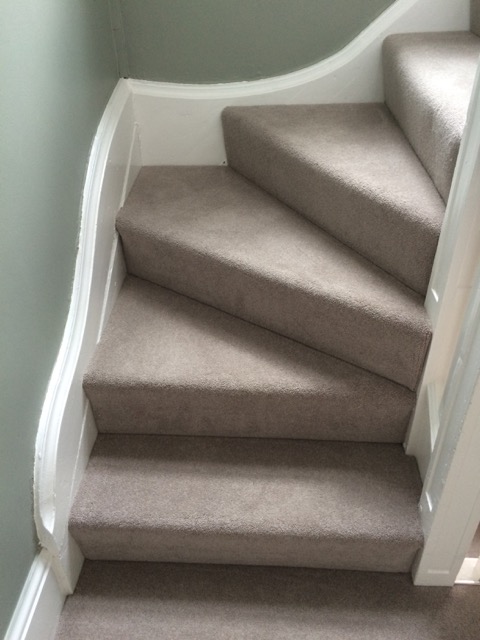
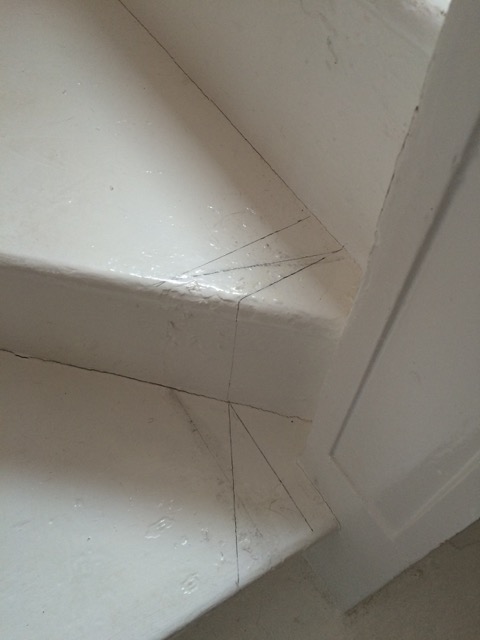
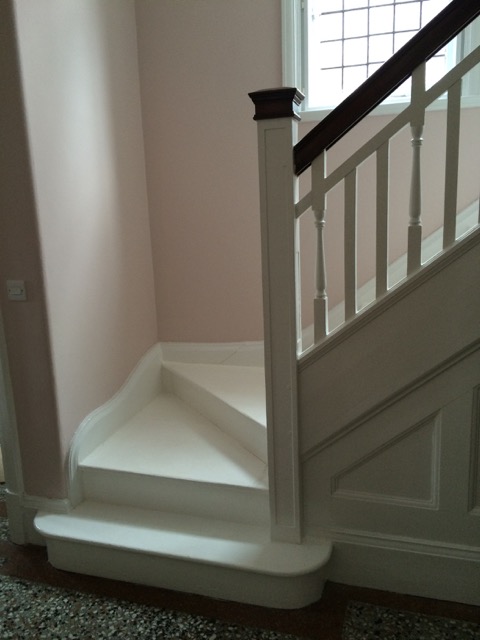 A word of advice though, don’t plan to fit a carpet runner on stairs that go around corners.
 It is possible but the geometry of it was doing the fitters’ heads in. Mine too. It was impossible to get the runner looking even, particularly when there are also asymmetrical sides to the staircase (in this case the wall on one side and the newel post on the other).
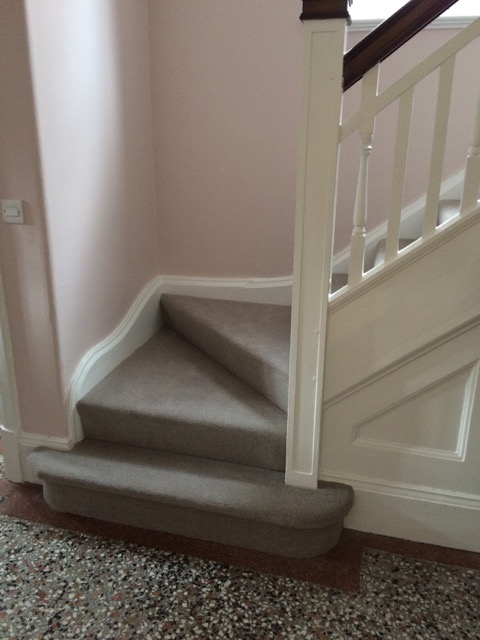
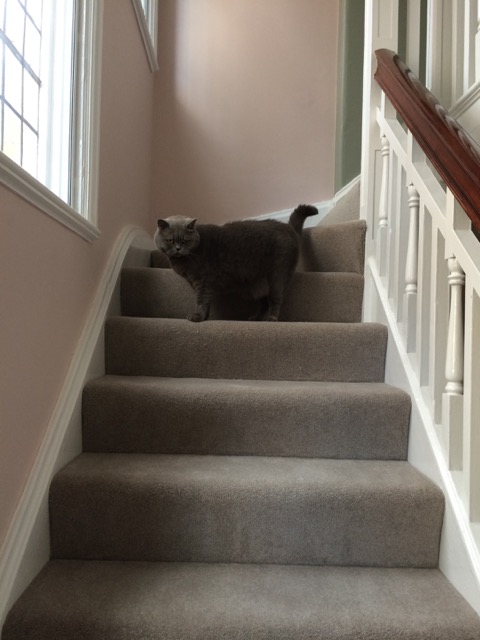
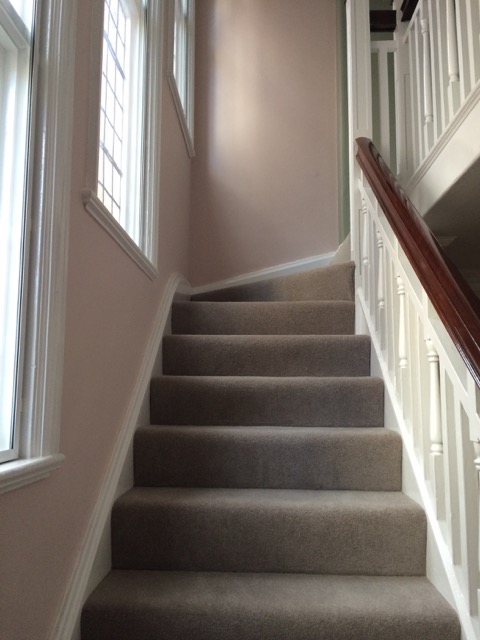
 Looks great though, even without the runner.

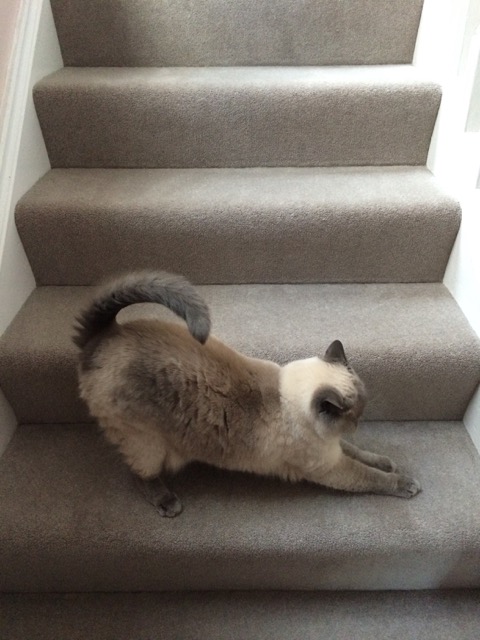
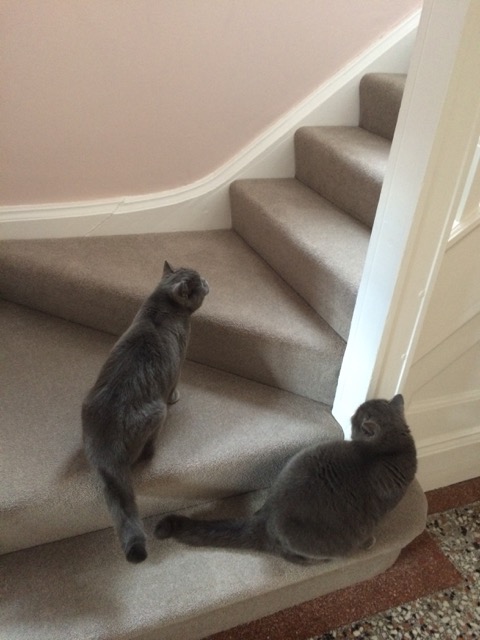 Inspection crew. It is no coincidence that the carpet is the same colour as the cats’ fur – the lighter carpet in the bedroom tends to get a “grey sheen” on it when it’s time to vacuum…
 Pile depth tester.
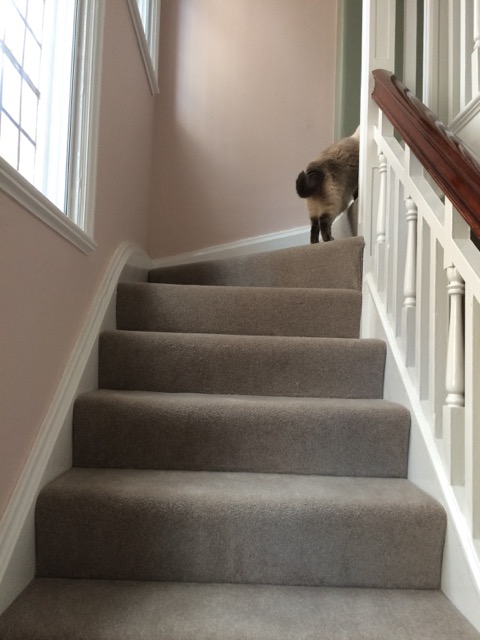 Heading up.
 Oliver not quite sure.
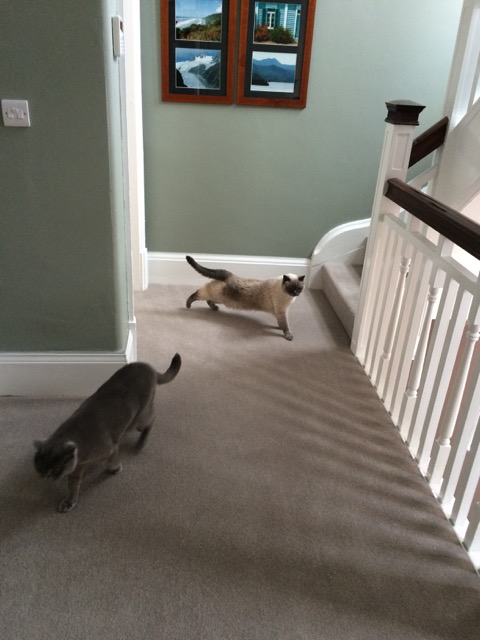
And so on.
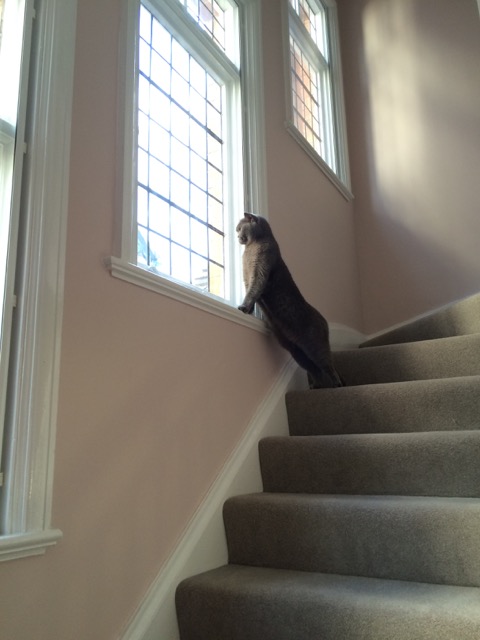 Ruby checking her lookout isn’t osbcured, in fact she should be half an inch higher now.
All we need now are some blinds for the dining room and the entire interior will be complete!

 It has now been up-cycled by my friend Claire and it looks fabulous!
 I always thought you could do something with it but I didn’t have the time or skill-set. I’m tempted to buy it. I need something to store the Christmas tree in…
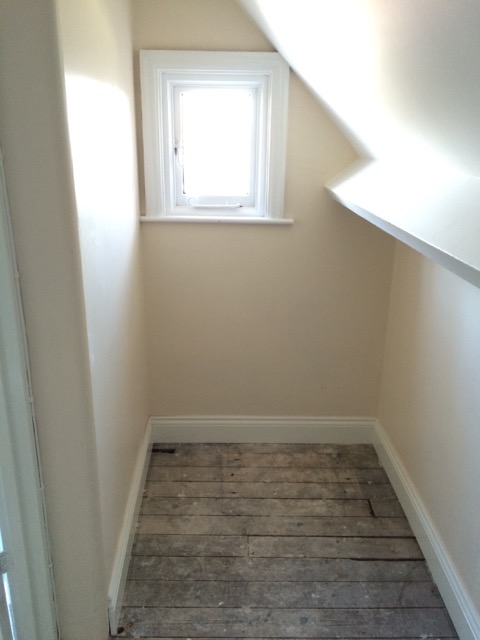


 On the second closing door is a simple knob that has a latch attached to the back


