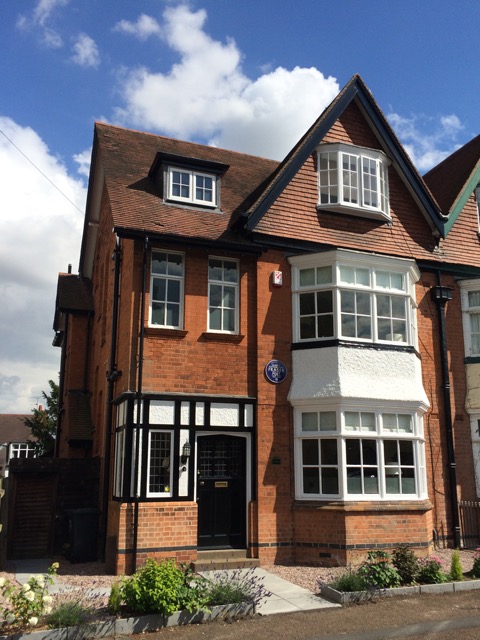
 Here we are in midsummer and as you can see the front garden is going well.
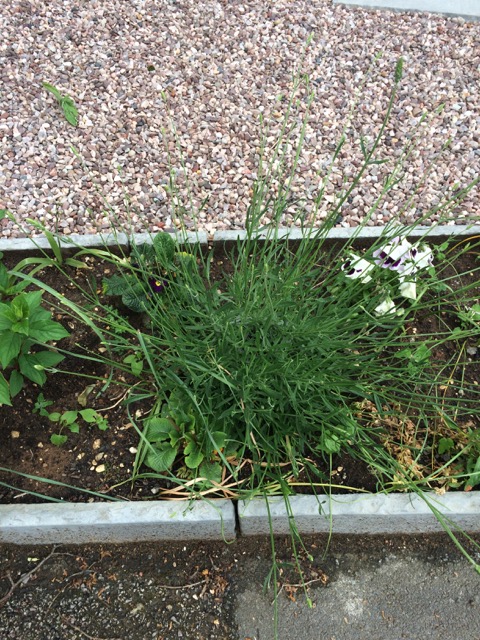
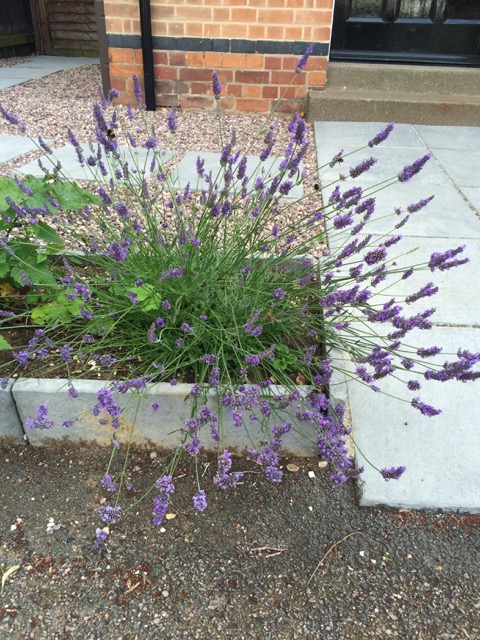 The lavenders are enormous and attract so many bees. I counted a total of 36 bees on the four plants this afternoon when I was watering them. Mostly the big bumble bees but some honey bees too.
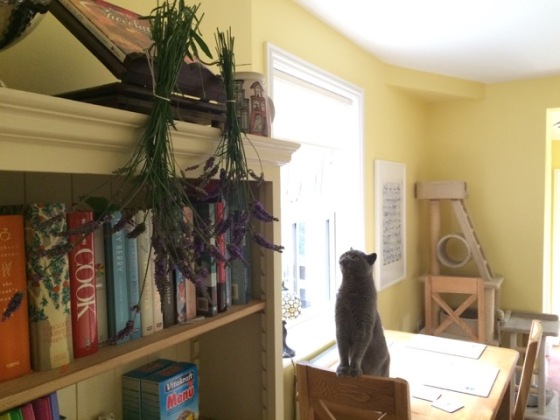 I cut some of the lavender and have hung it to dry. Ruby inspecting.
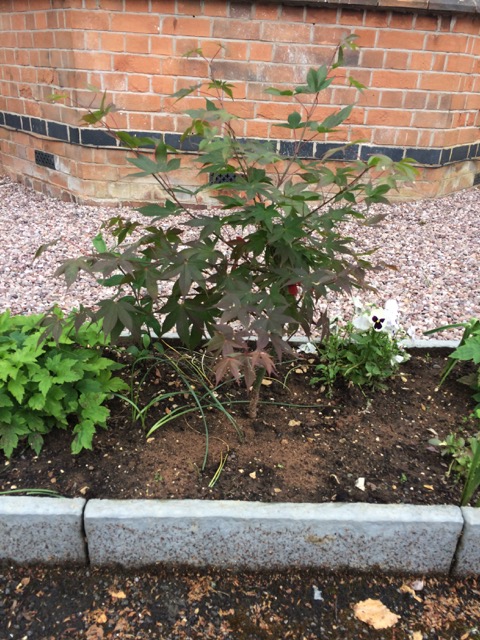
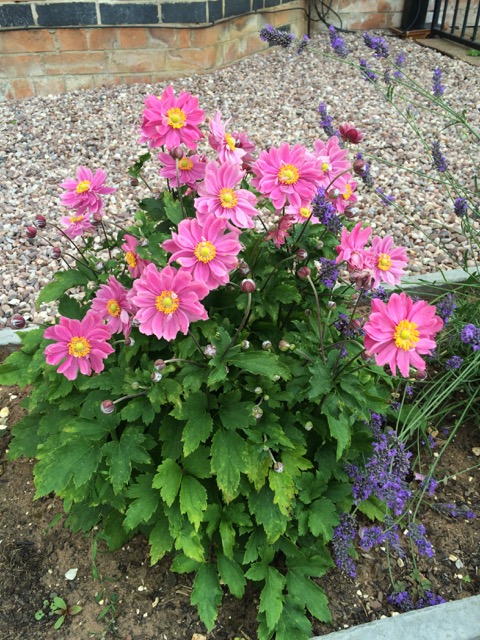 The Japanese anemones (Pretty Lady Susan) are in flower.
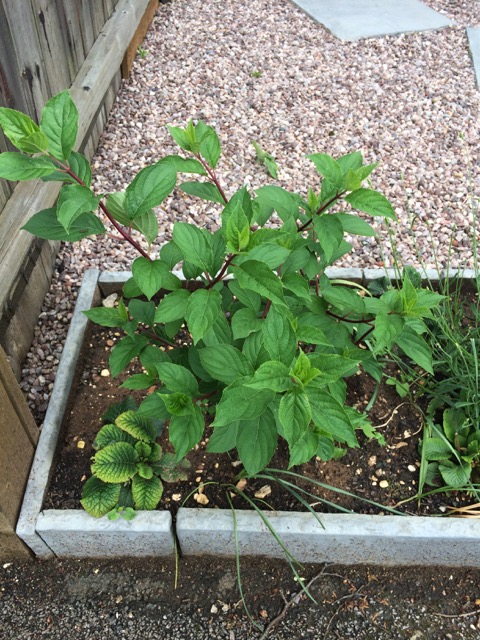
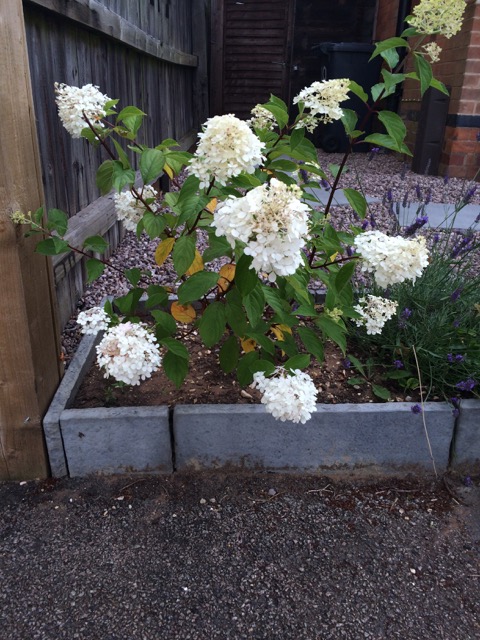 As are the hydrangeas.
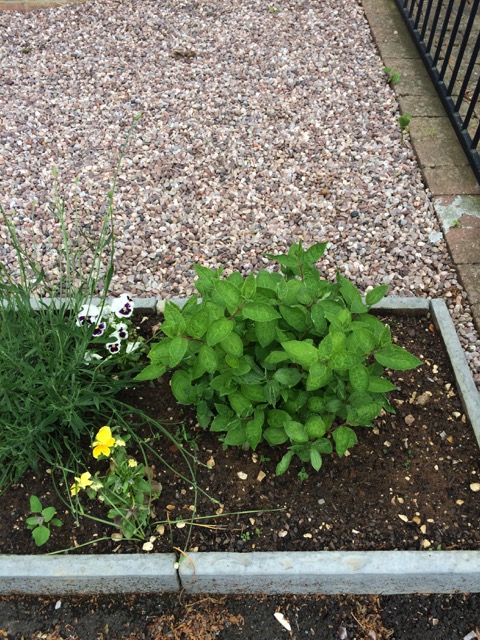
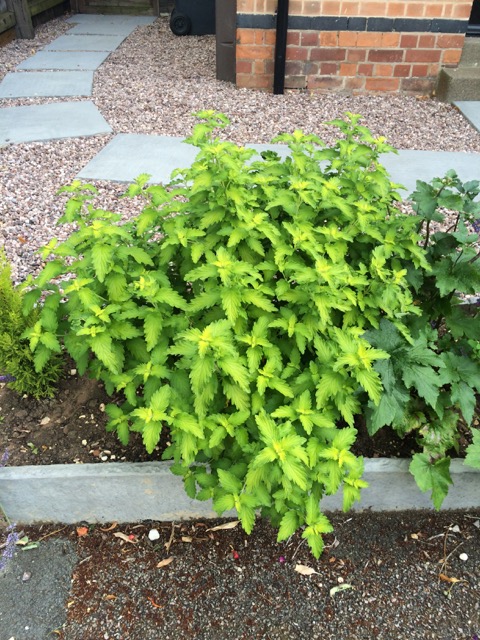 The Lisaura will flower in late summer.
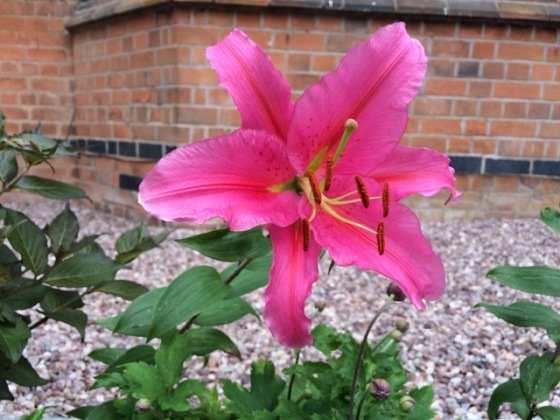 Here is one of the lilies from our friend Mindy, who brought the bulbs from her own garden in Portland, Oregon when she and her husband John came to stay and look after the cats for us last year.
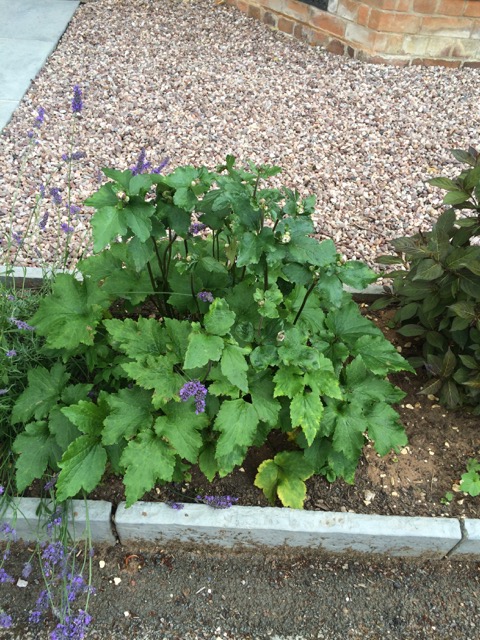 The two larger types of Japanese anemones (Montrose) are budding.
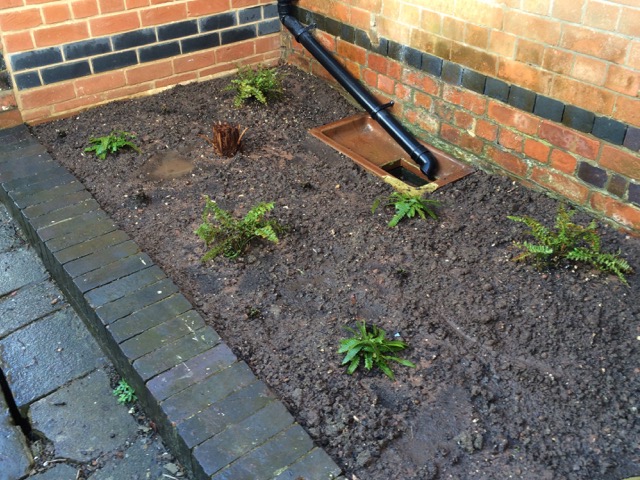
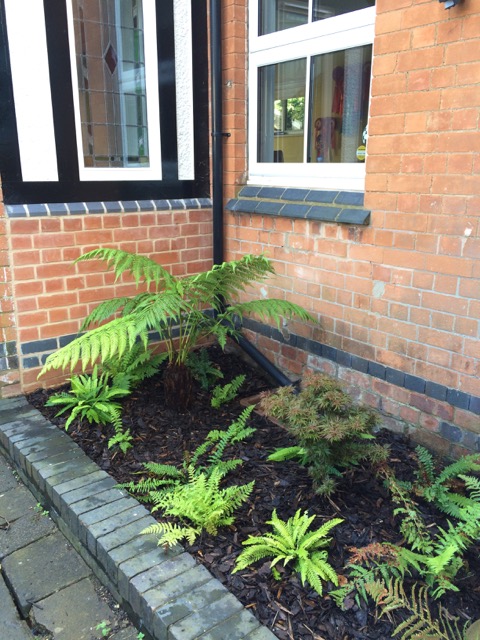 Out the back, the fern garden is looking good. I have put bark chips down to help keep the soil moist and the weeds at bay.
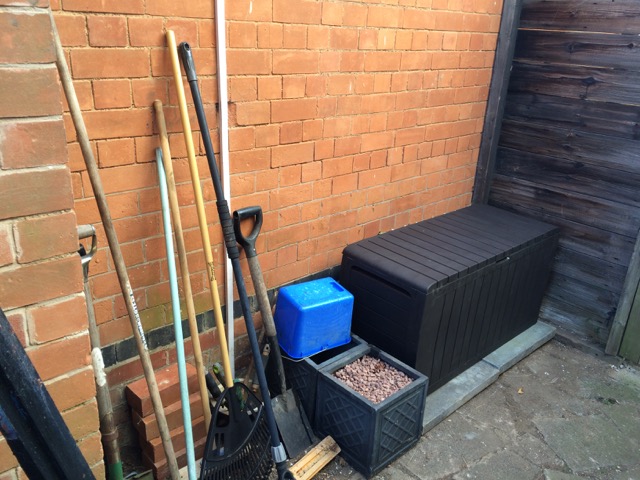
 I tidied up the corner down the side of the house by the gate for my garden tools and bought this storage box. This was where the pile of logs had sat since the giant silver birch was cut down when we first moved in. On the weekend I moved the logs across the road to our neighbours as they have a wood burning fire and can make good use of them next winter.
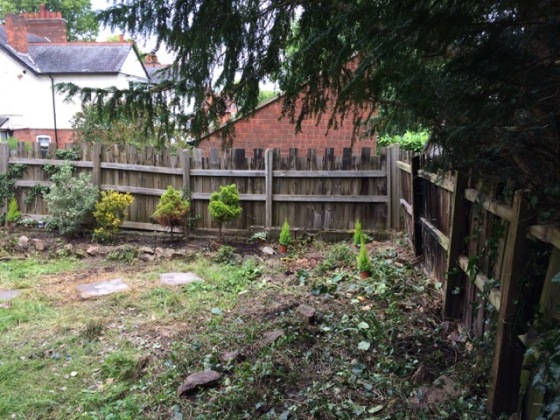
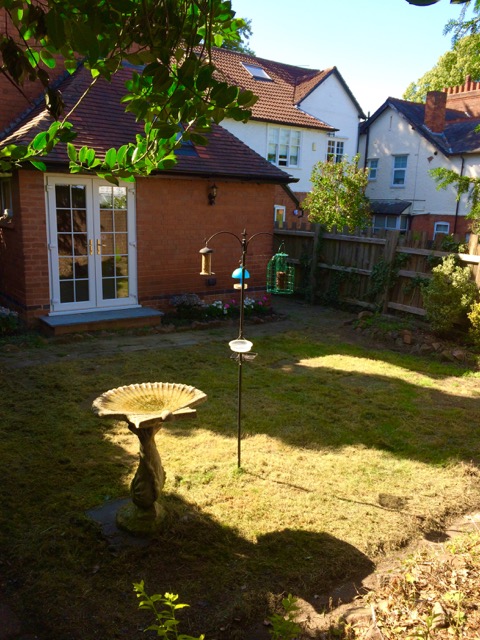
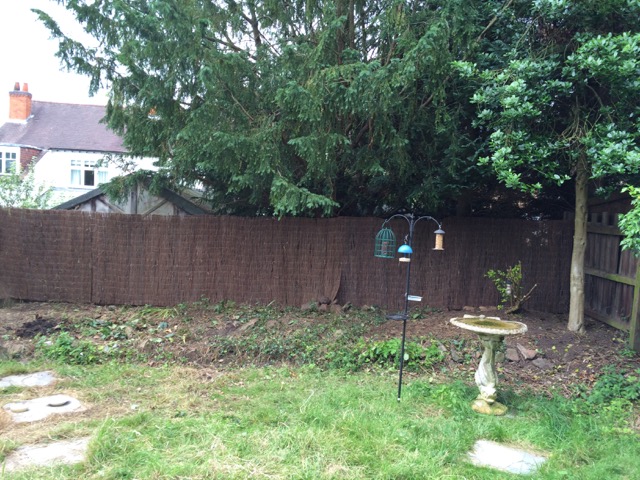
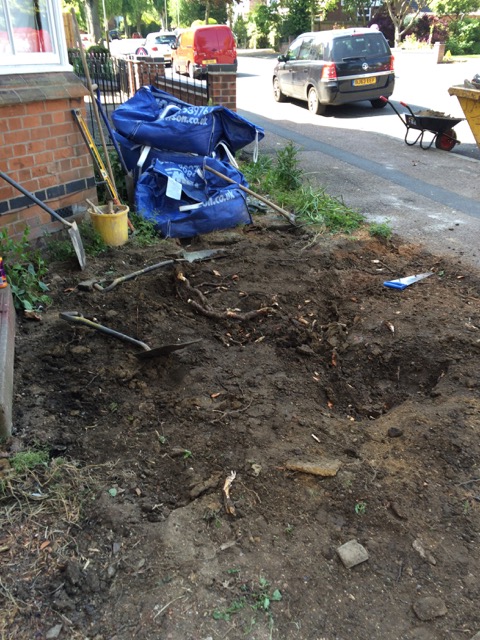
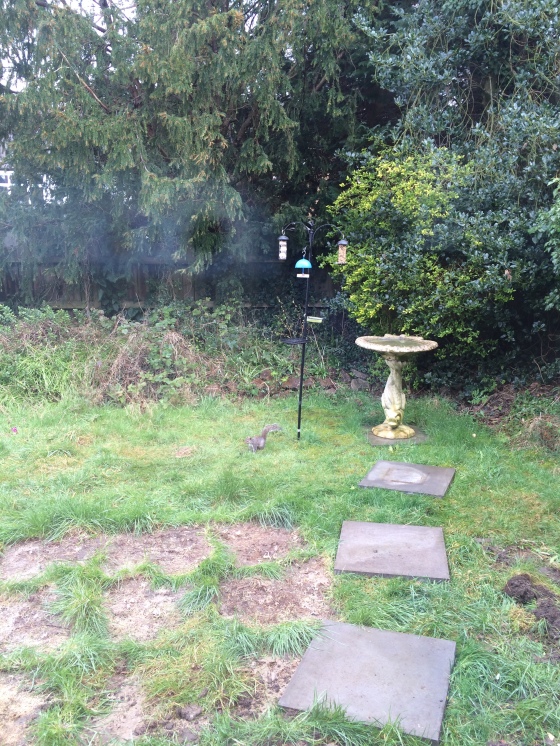 Now, here is a photo of the back garden from a few months ago, complete with squirrel stealing the bird food. As you can see the garden was a bit of a mess. Everything was neglected and overgrown, there was bindweed and brambles/blackberry bushes everywhere. The first thing that I did was cut back a lot of the vegetation behind the birdbath there, which I blogged about in my last post. It was a kind of privet growing in amongst the holly tree. I cut it all back and it took several weeks to get rid of all the cuttings in our garden waste bin. I also started to clear the garden beds.
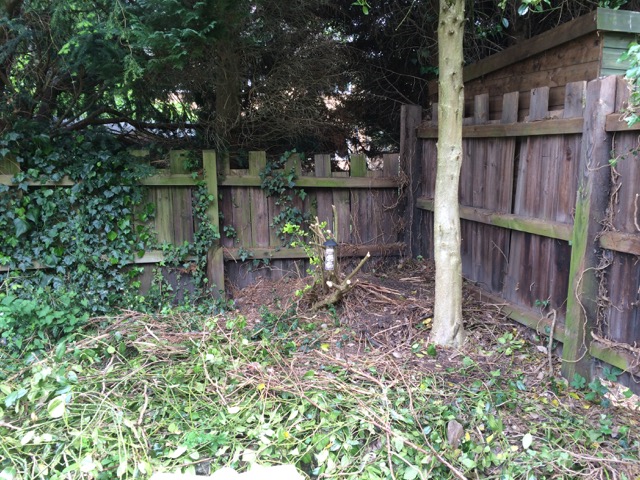
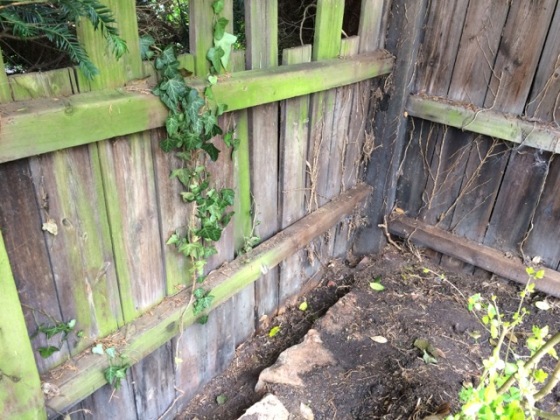 This is that back right hand corner after I cleared it and dug away a lot of the soil. The original plan was to get quotes for a new fence along the back but, as you can see, there is a bit of a rock retaining wall here and the soil level has risen with all the years of leaf litter from the trees, meaning that the fence is buried about a foot under ground level and would take major excavation work to remove.
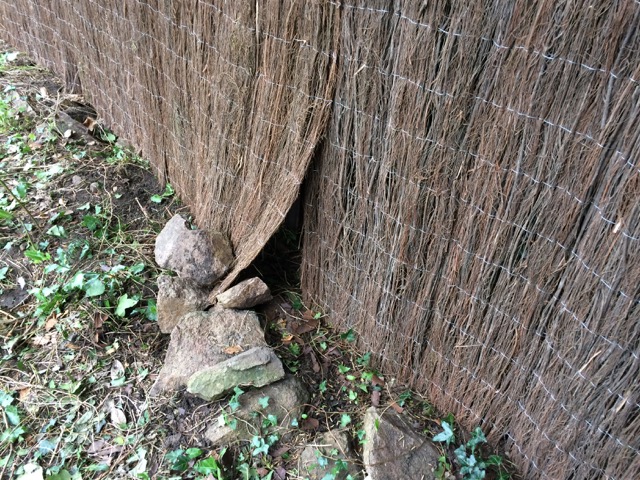
 Here you can see what bad condition the back fence was in. The missing palings, however, were good for the hedgehogs, as they need to be able to roam freely between gardens to feed and breed.
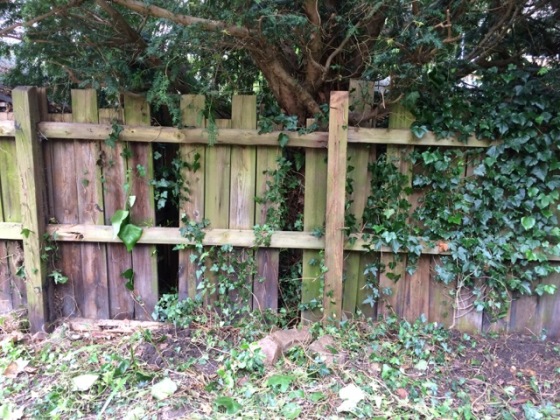
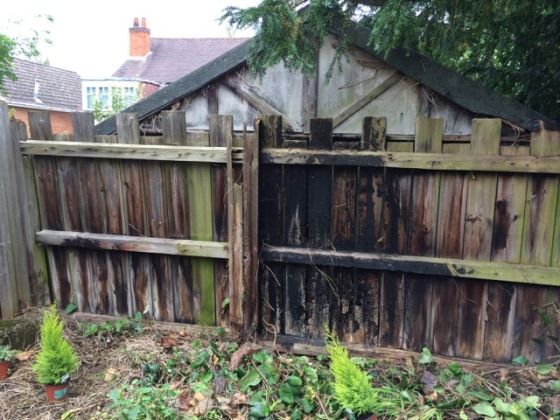 Further along you can see that part of the fence has caught fire at some point in the past. Also the position of the neighbour’s shed means that access to replace this section of the fence would be almost impossible.
 The same goes for the structure in our other neighbour’s garden.
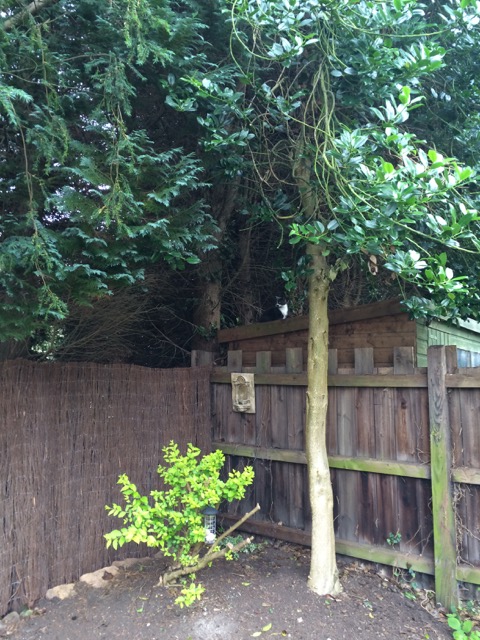
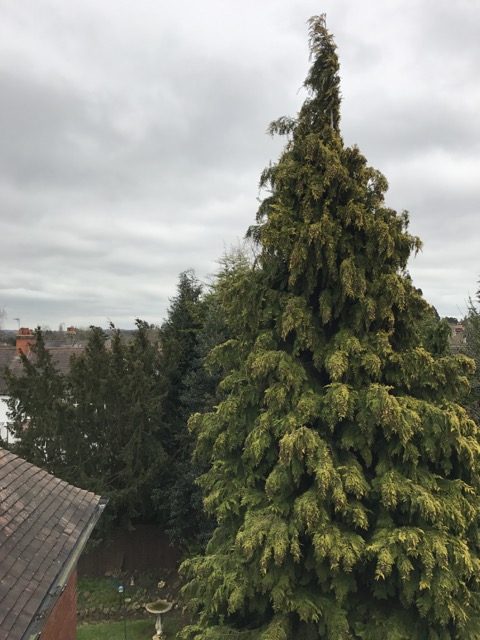
 My solution was to attach brush screening to the fence to create a more pleasant looking boundary. I also cut back some of the lower branches of the giant yew tree in the garden behind ours.
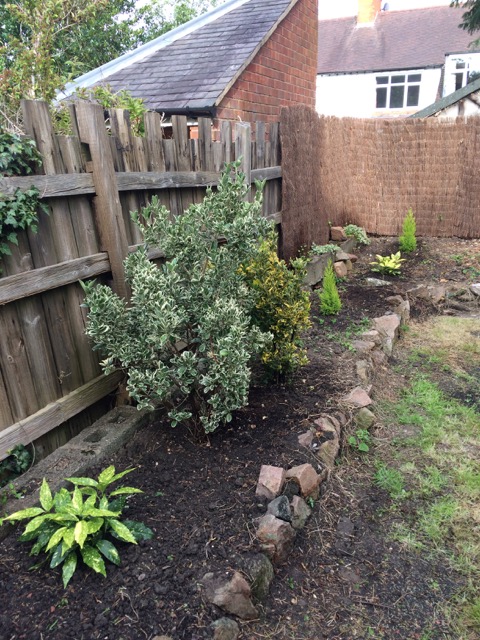 It makes a big difference, so I plan to put some more along the fence along this side too. In the back corner you can see that I have planted some ivy to obscure the low breeze block retaining wall. I have also planted some Spotted Laurels and small cypress trees and continue to weed the garden beds. The lighter-coloured and variegated foliage on these plants will be an effective foil to the dark green of the yew, holly and conifers that dominate the rest of the garden.
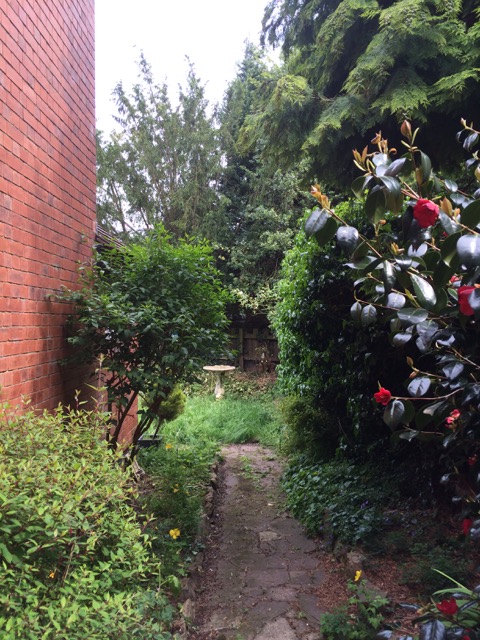
 This was taken a few weeks later and you can see that the privet is growing back nicely and the holly looks much neater with all the lower branches removed. If you look closely you will also see the neighbour’s cat keeping a watchful eye on proceedings from the roof of the shed.
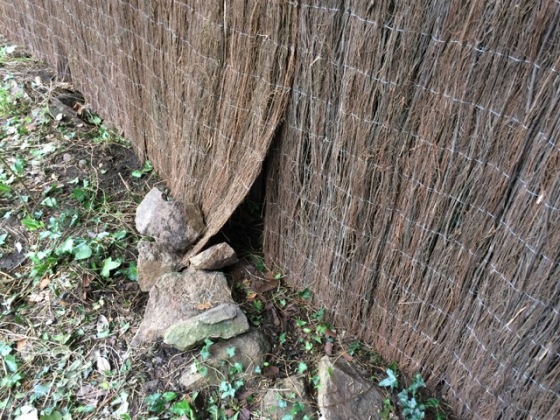
I kept a section of the screening open for the hedgehog to get through.
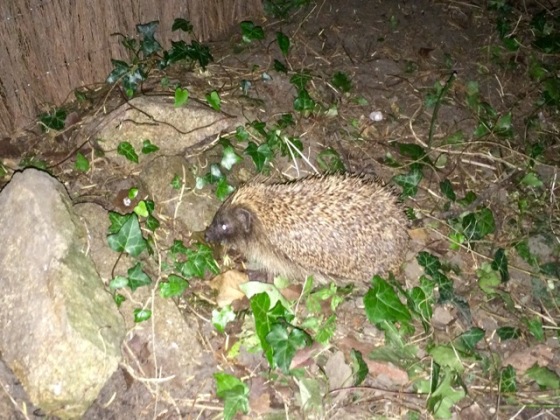 Here is a shot of the hedgehog. We haven’t seen him for a few weeks but they do have a big territory. Unfortunately hedgehogs are not very good at crossing roads, so we hope he is OK.
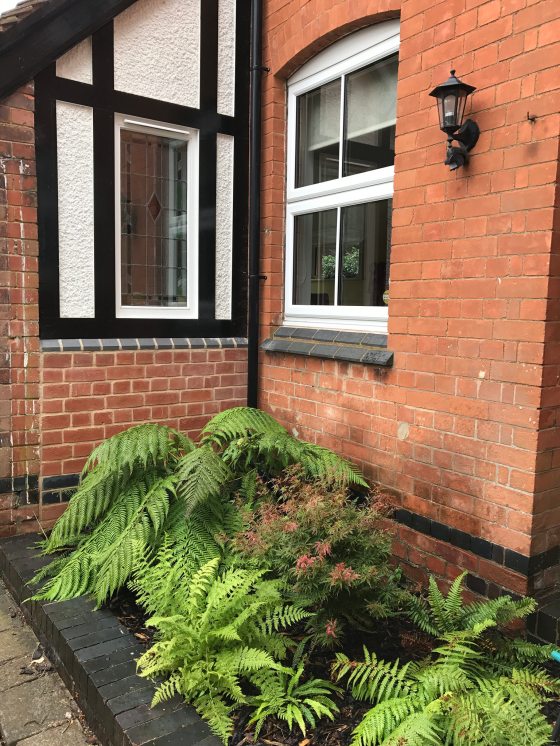
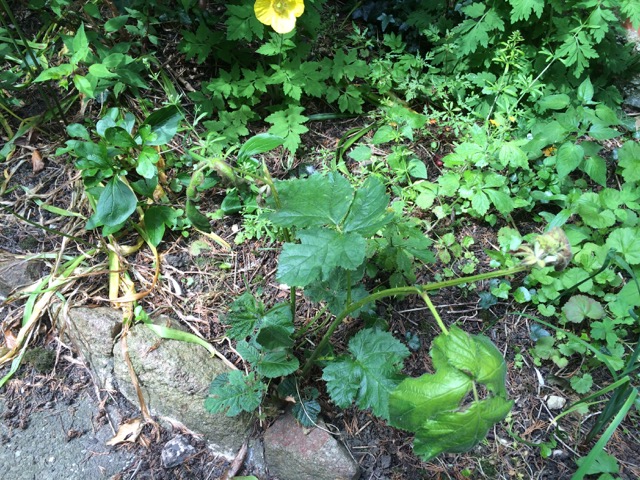
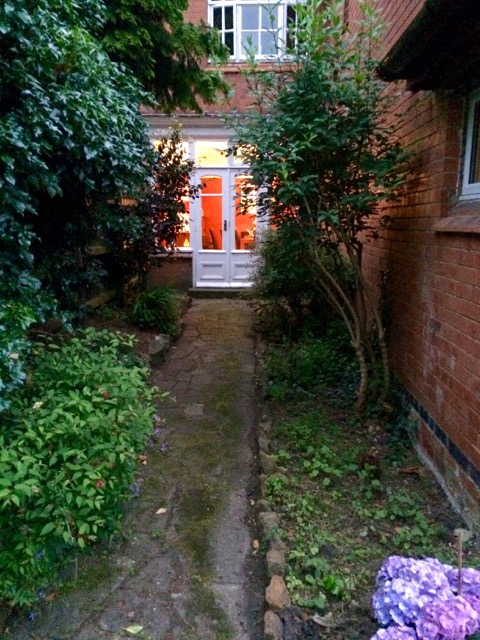 Down the other side of the house I have been tidying things up too. There is still a lot of weeding to do here too.
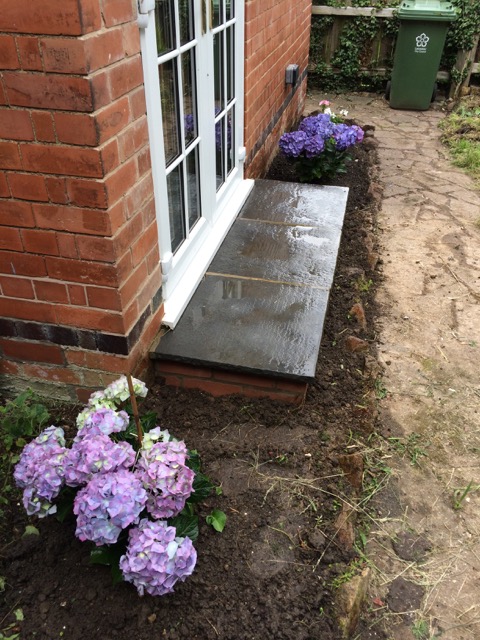
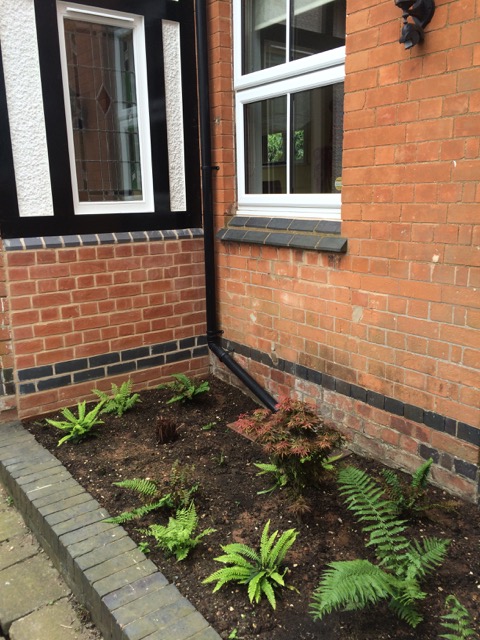
 By the back door I have weeded and cleared the beds and planted hydrangeas, the old fashioned mop-head variety. What with the crazy paving and rockery borders, this is a very mid-century garden so I am continuing the theme with what I call “granny plants”.
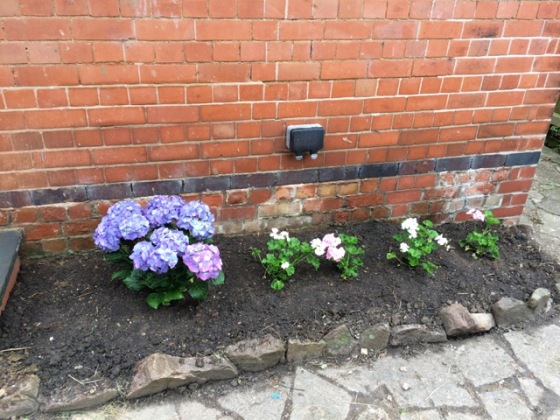 Also geraniums, pink and white.
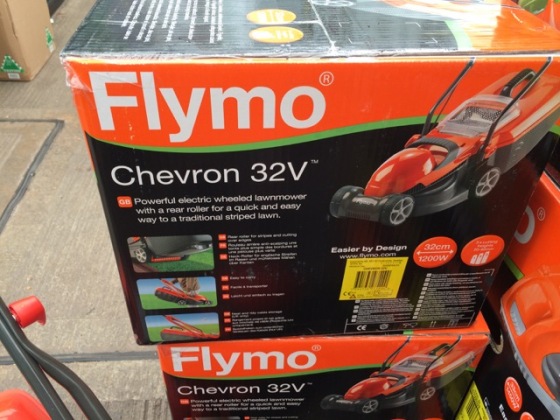 This was my latest purchase. Combined with the strimmer I bought a few weeks ago, I have started to tackle the grass.
 After the first mowing. It almost looks like a real garden!
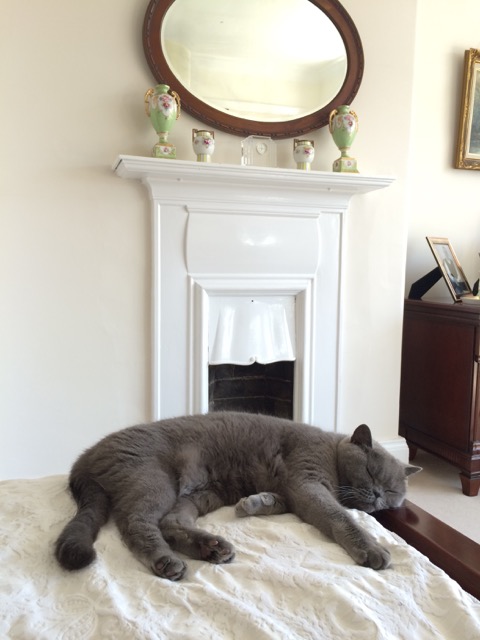
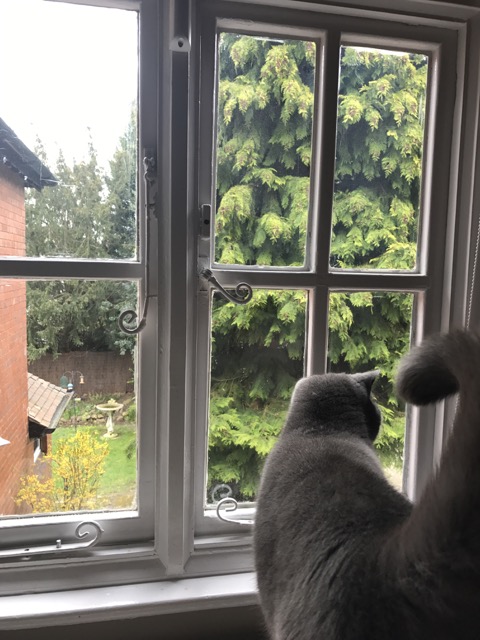
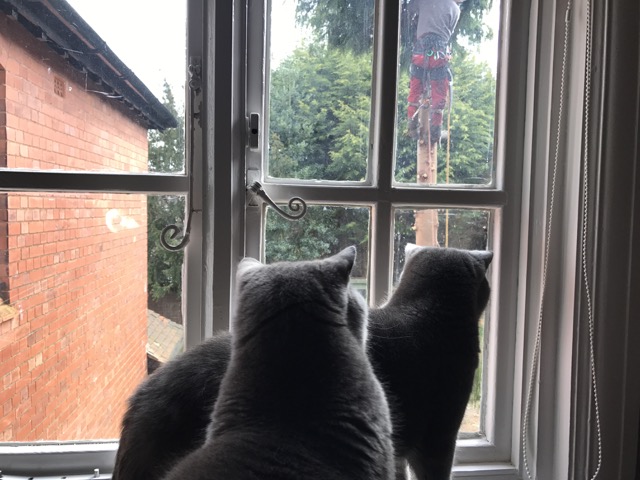
 Cat updates. Hello from Oliver – I think he needs to do more to relax.
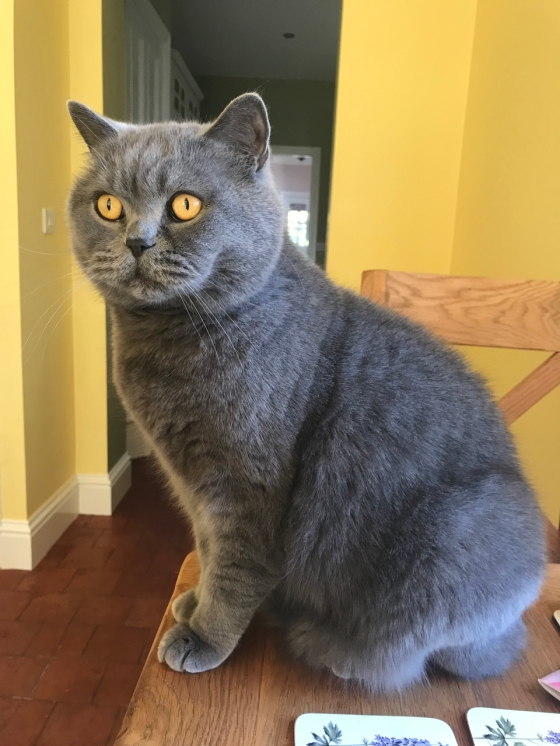
 The same goes for Ruby, pictured here during our recent heatwave.
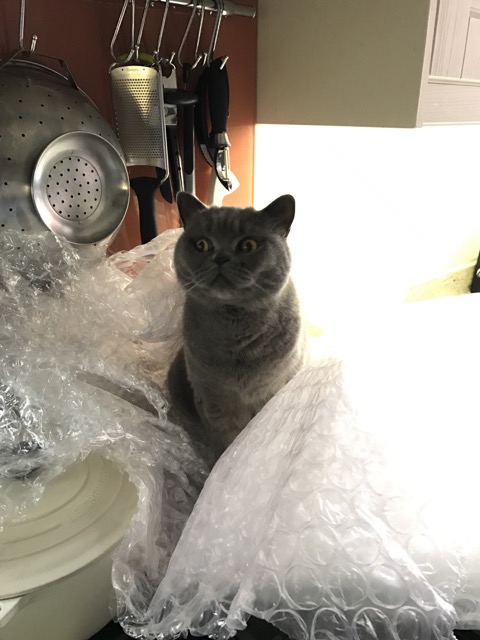
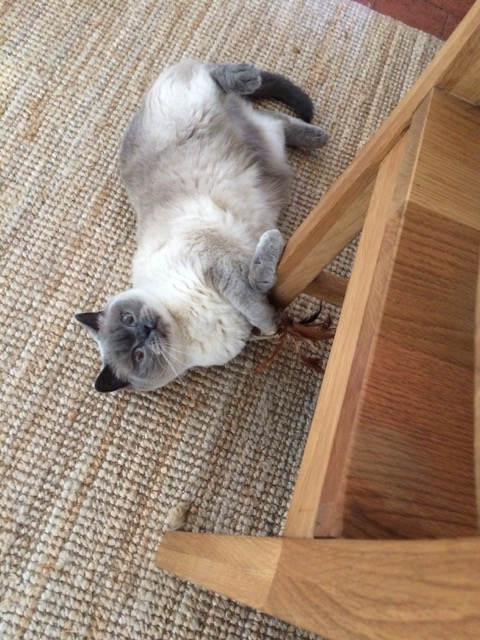 And Rose. She is playing with the catnip mouse – the look in her eyes says it all.

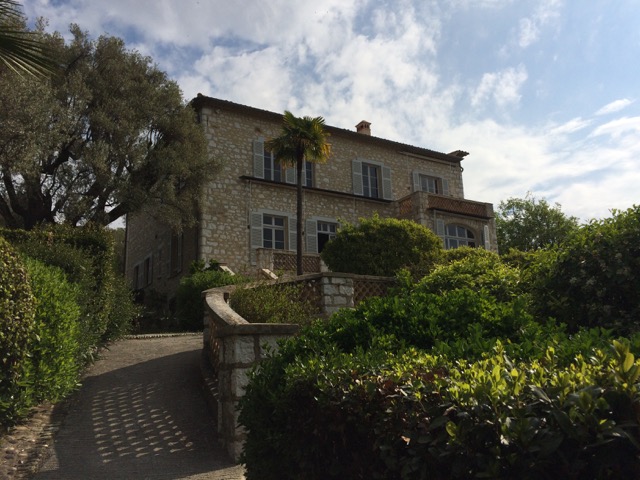
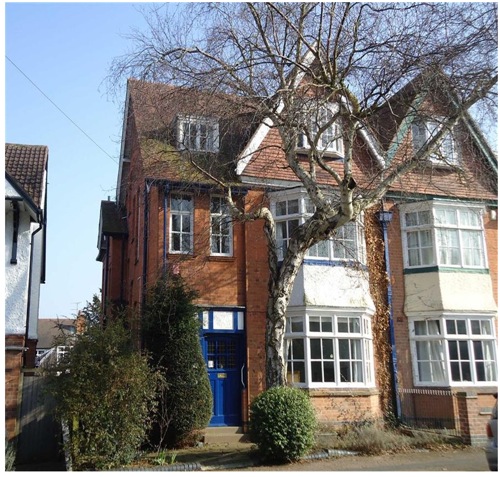
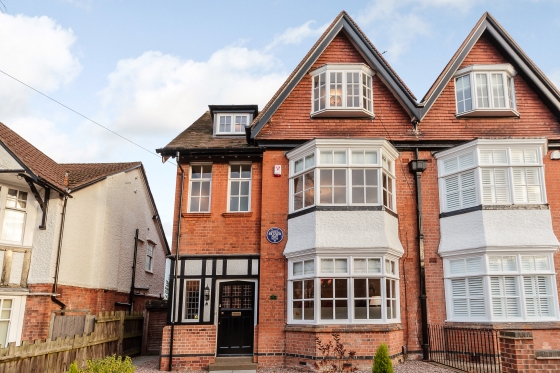 Welcome back! You may have been trying to access this blog for the last few months only to find that it was marked ‘Protected’. That’s because we have big news – we have sold the Edwardian House! Mark and I have spent more time living in this house than any other (almost five years) and the time has come for us to move on. These are the professional photographs that were used for the sale. While it was on the market I wanted the house to speak for itself, without prospective buyers seeing it in its unrenovated state in this blog. Even before then I must admit that my blog posting had pretty much ground to a halt – what is there to add to a renovation blog when the renovation is complete?
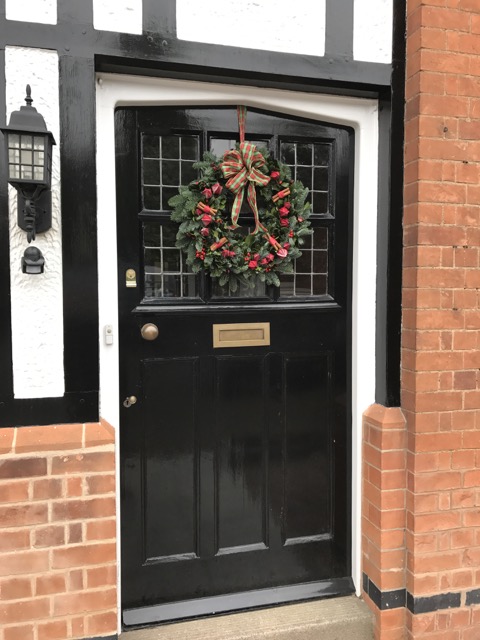
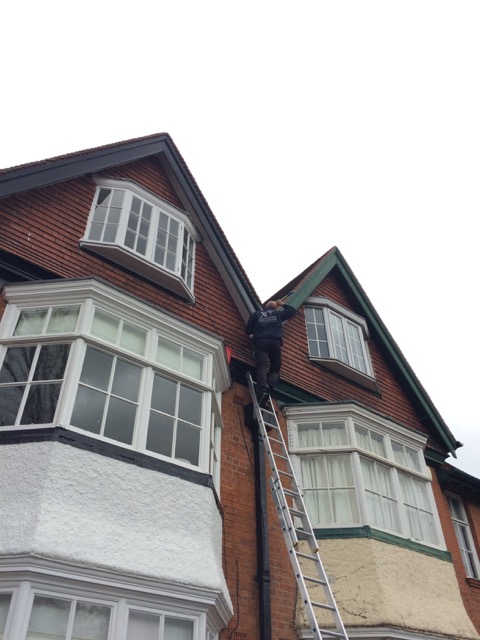
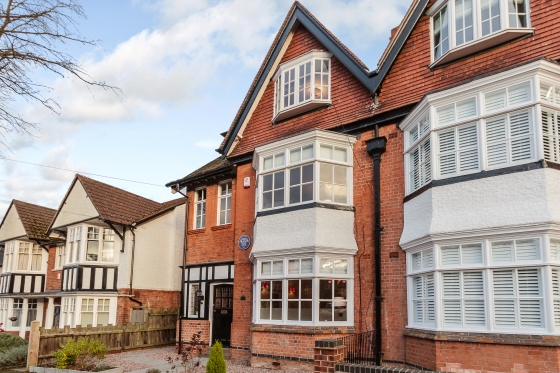 External shots.
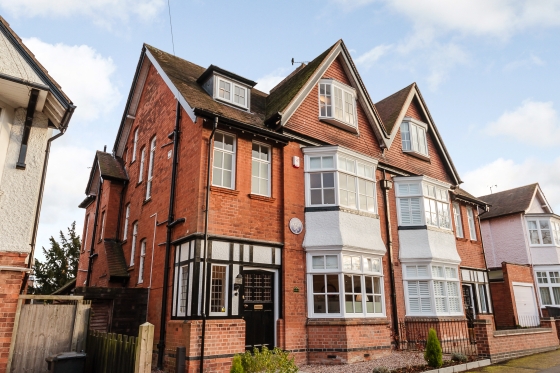
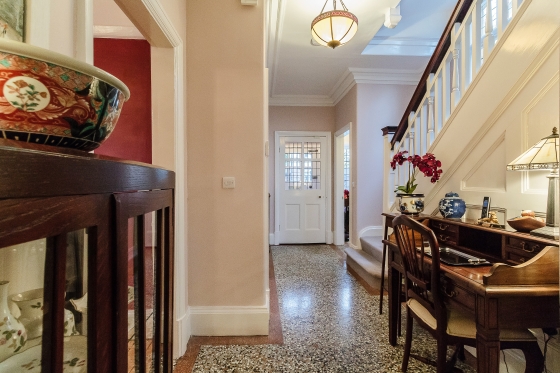
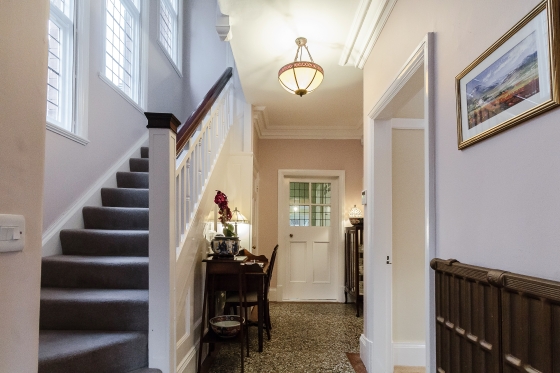 Entrance hall.
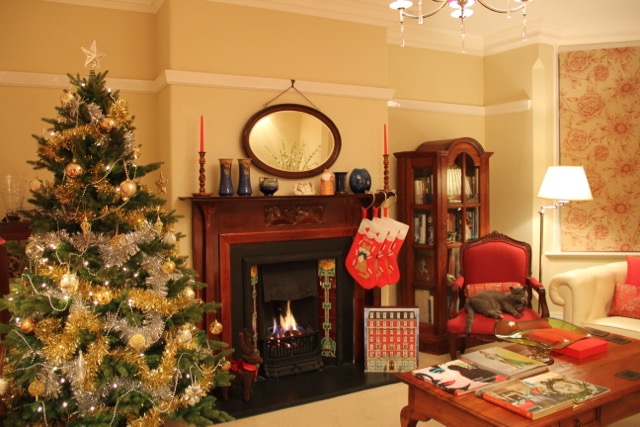
 Lounge room.
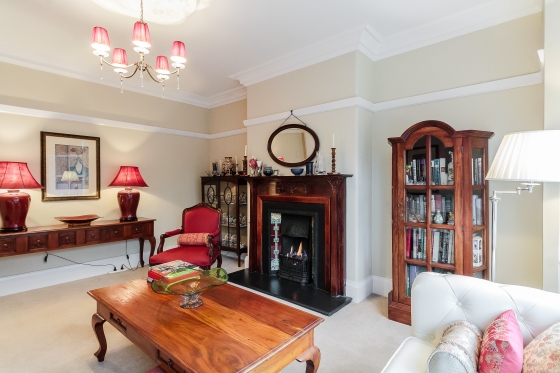
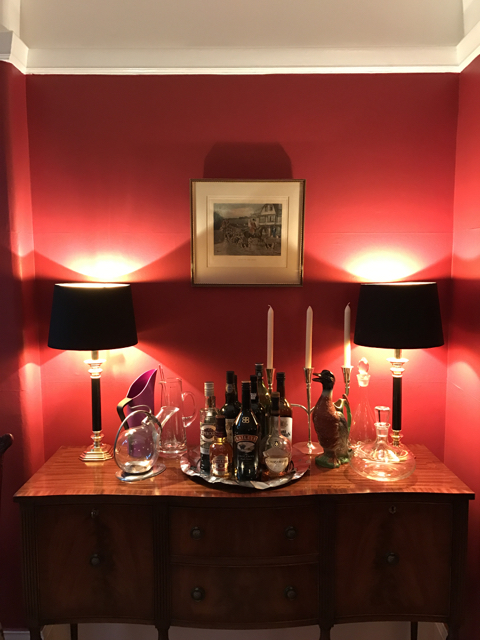
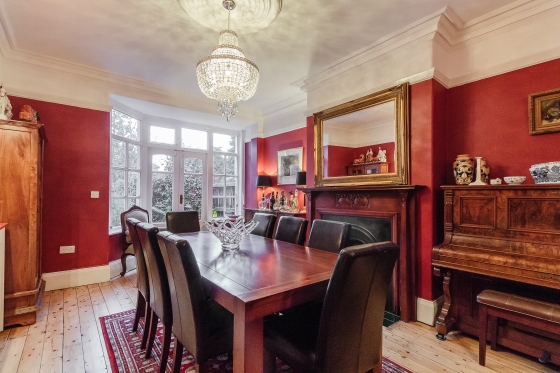 Dining room. I failed to blog a year or so ago about the fireplace you can see here. Our neighbours were renovating and decided to replace their fireplace so I bought it from them. It matches the one in our lounge and means that the house now has all original fireplaces!
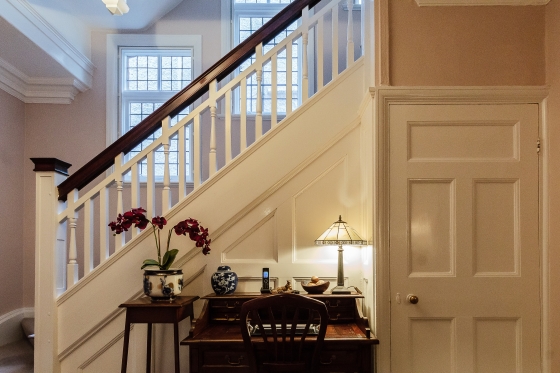
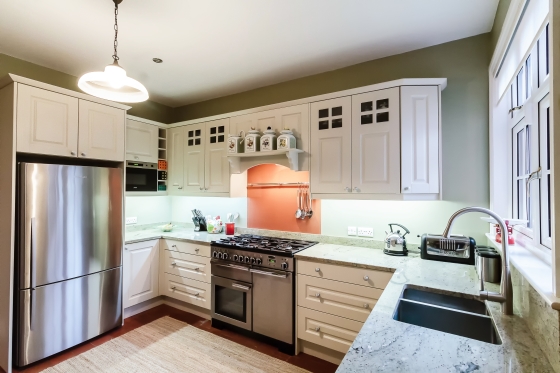
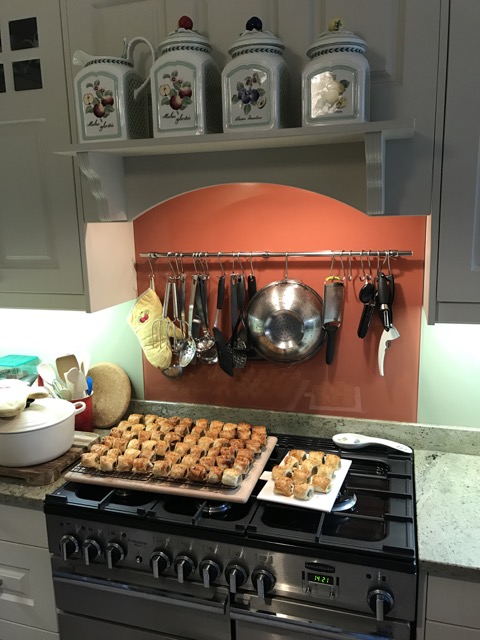
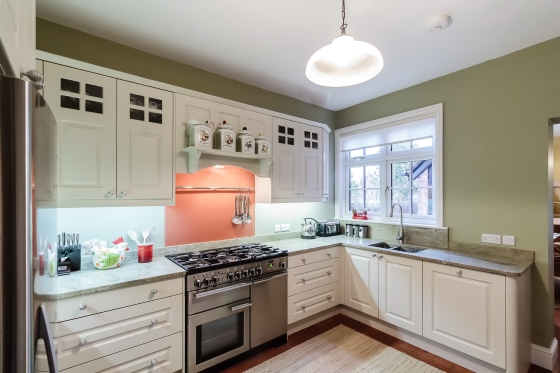 Kitchen.
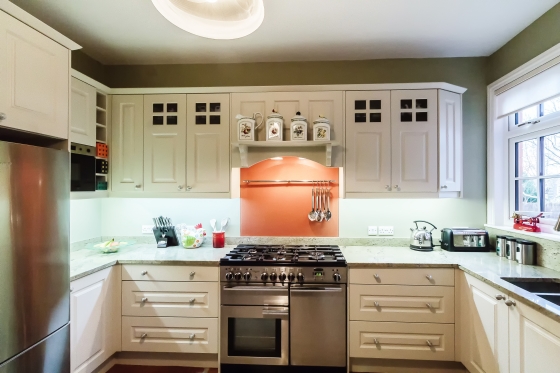
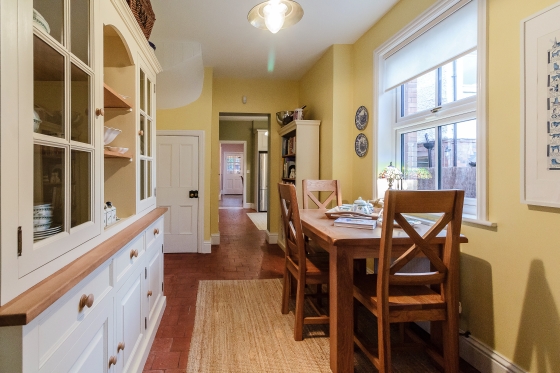 Breakfast room.
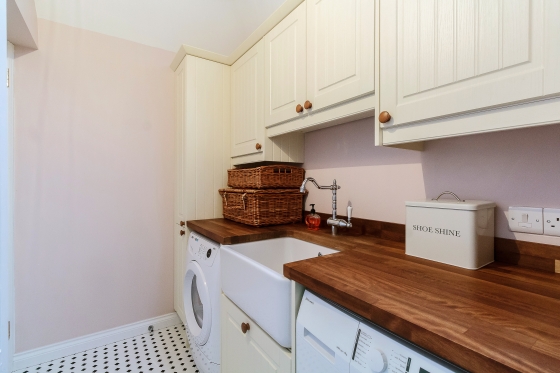 Utility room.
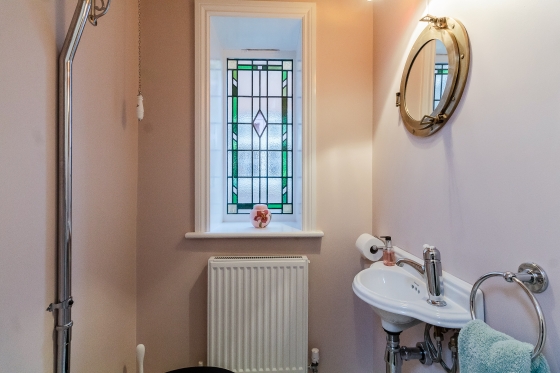 Downstairs toilet.
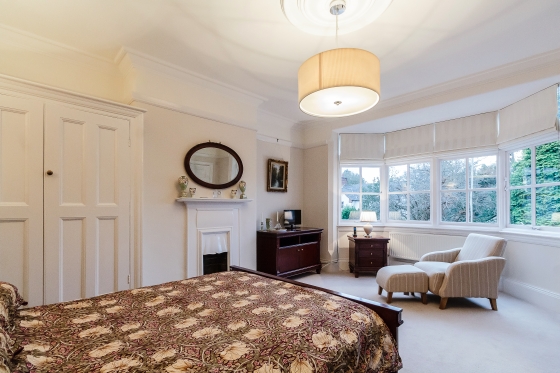 Master bedroom.
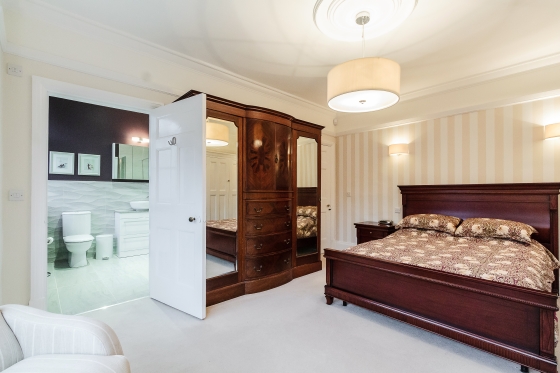
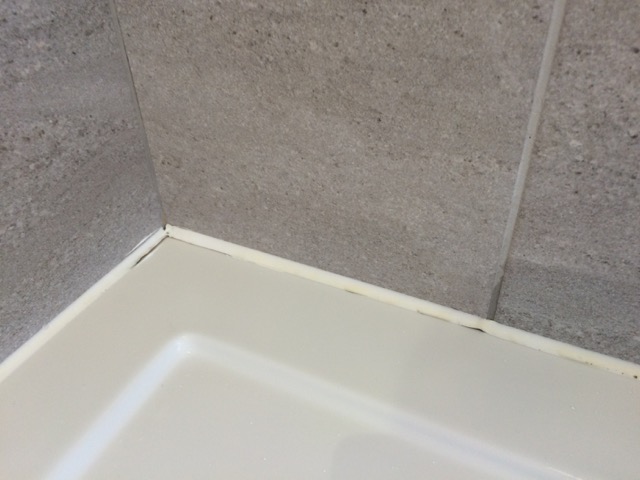
 En suite shower room.
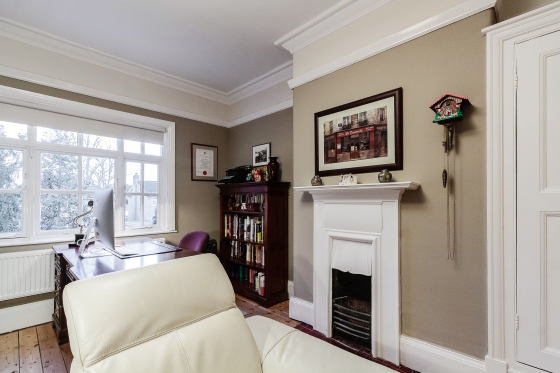 Bedroom two, my study.
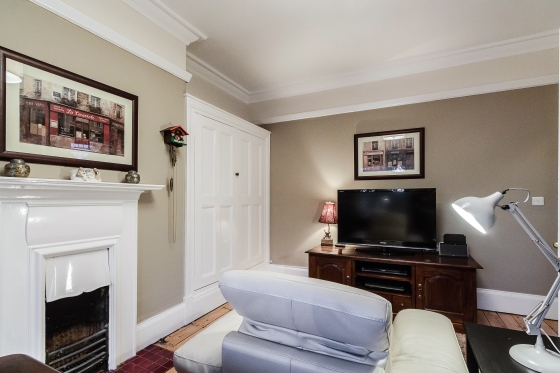
 Toilet.
 Bathroom.
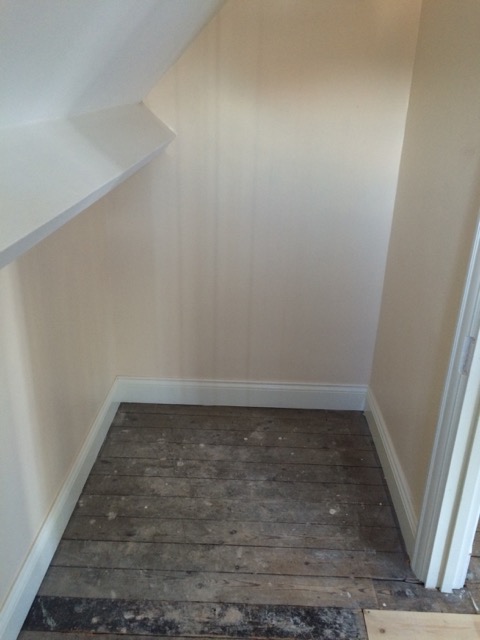
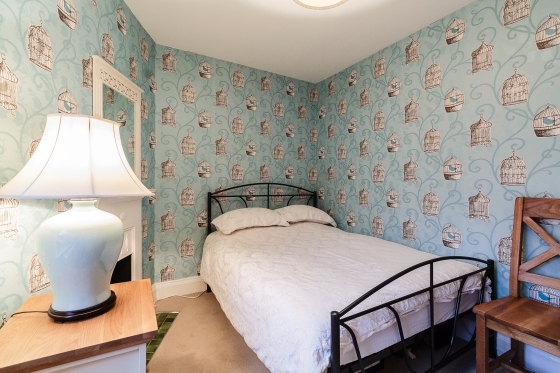 Bedroom three/guest room.
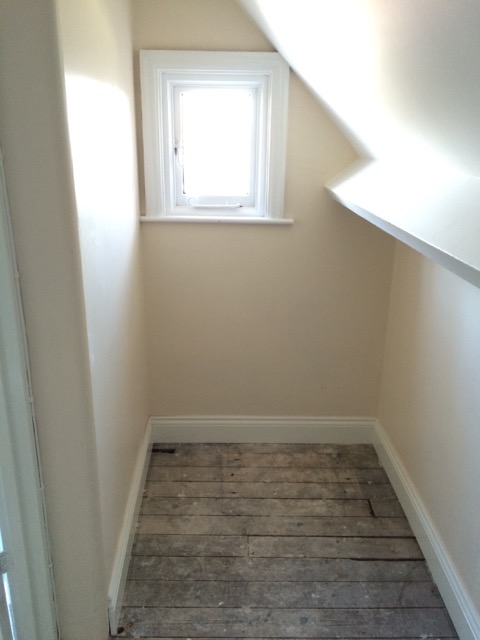
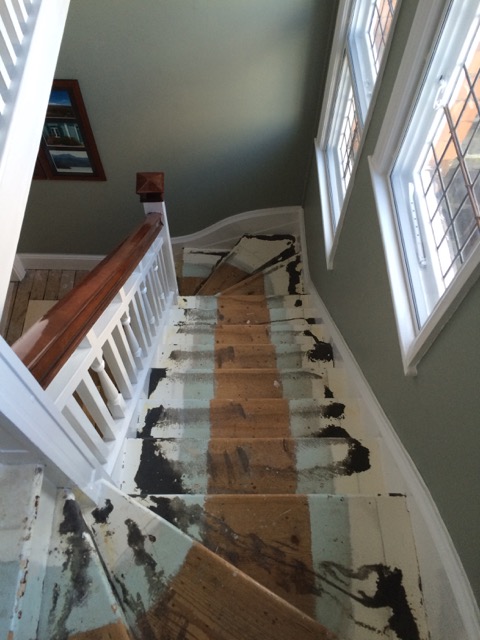
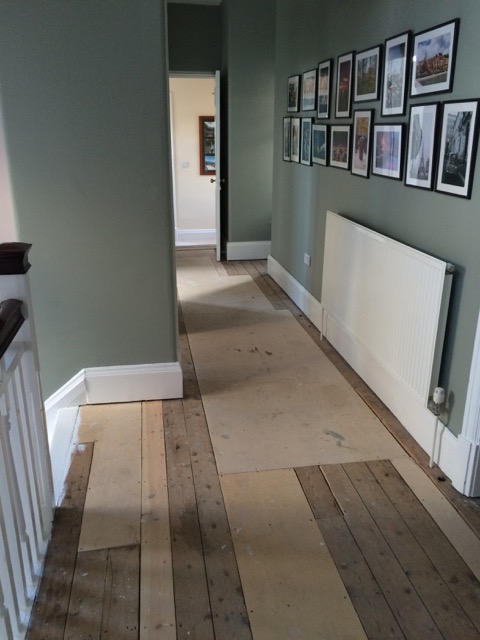
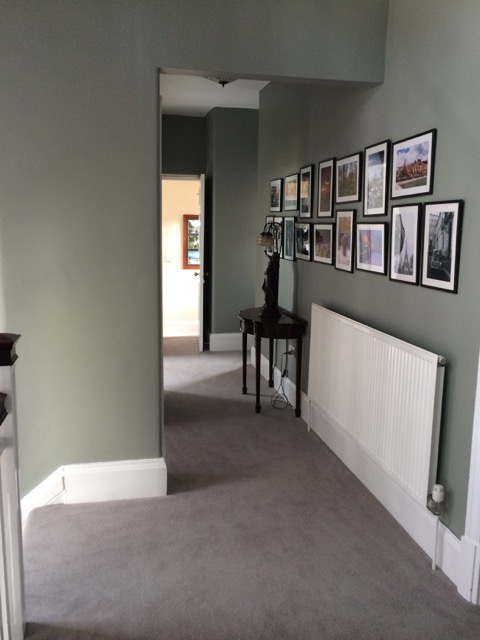
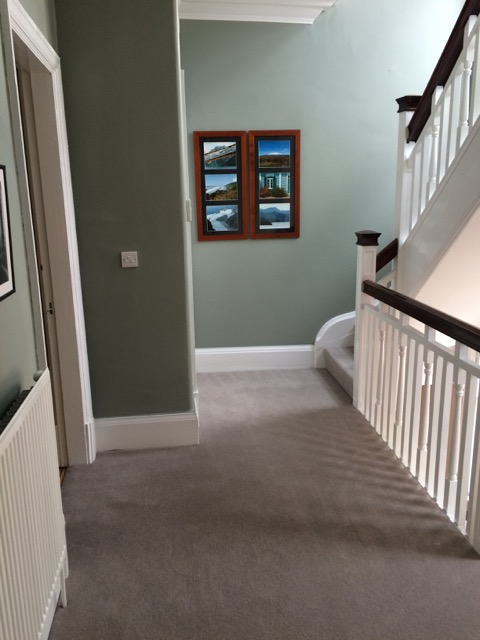
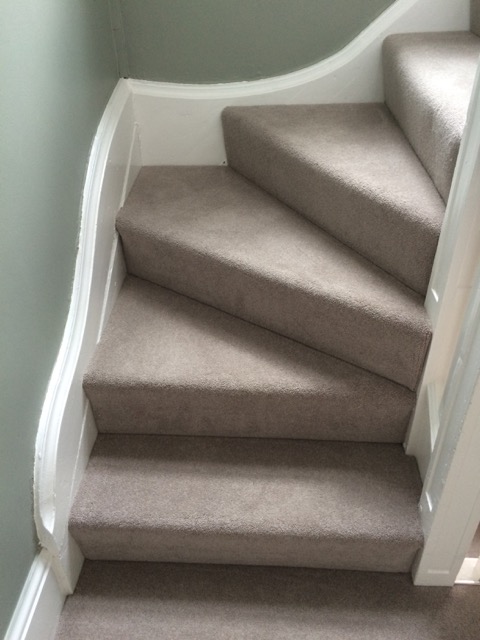
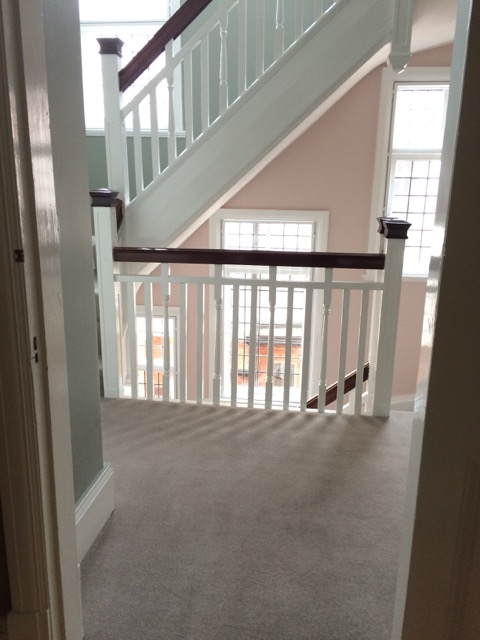
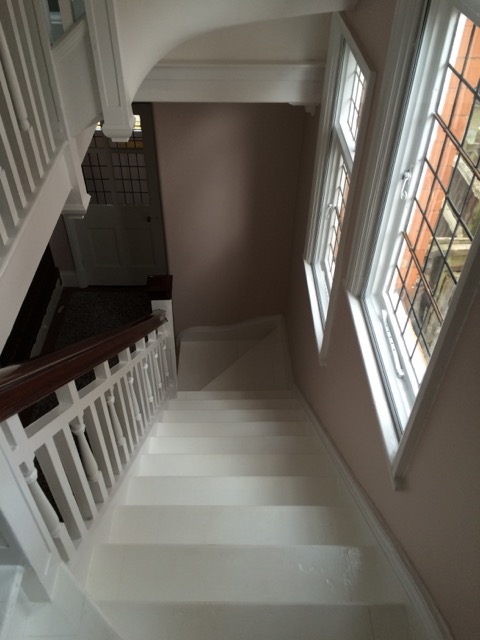
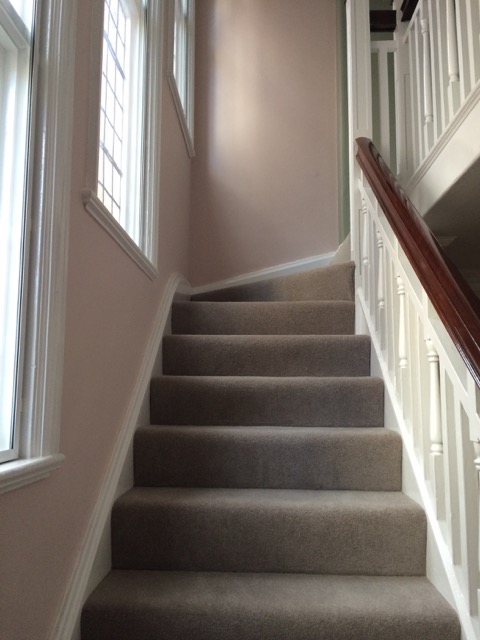
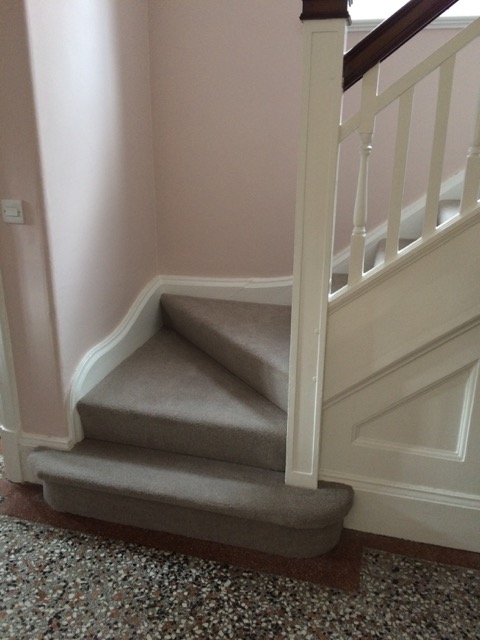
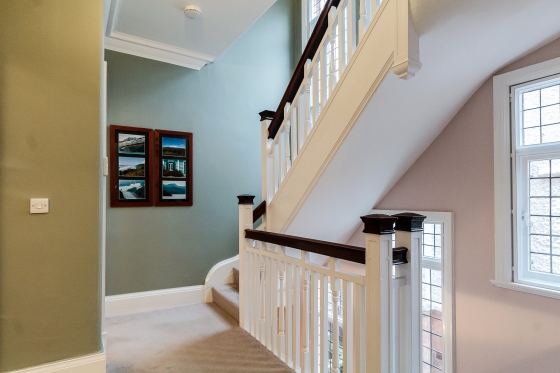 Stairs.
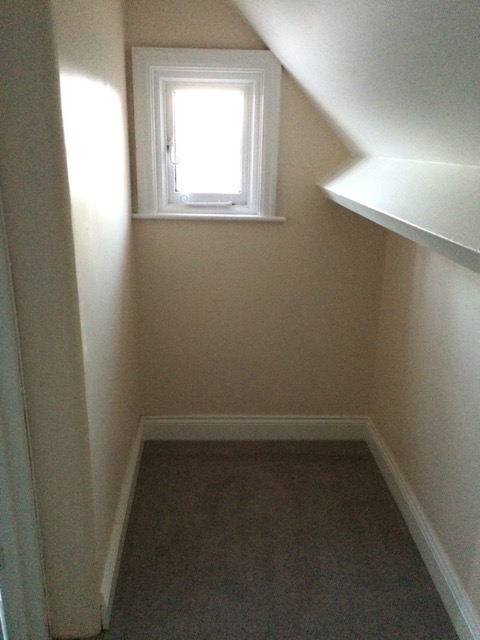
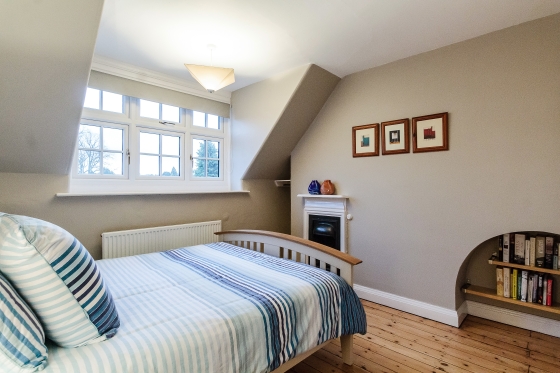 Bedroom four.
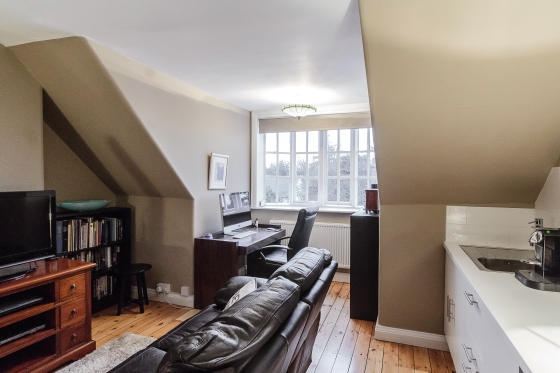 Bedroom five, Mark’s study.
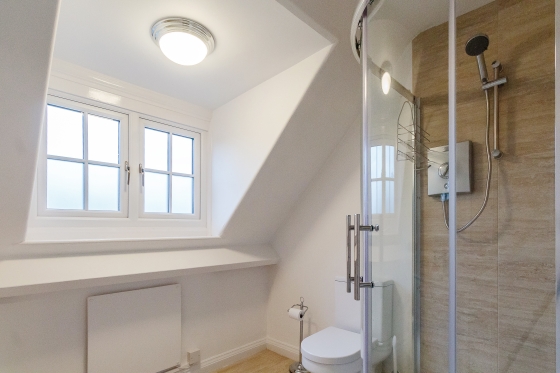 Top floor shower room.
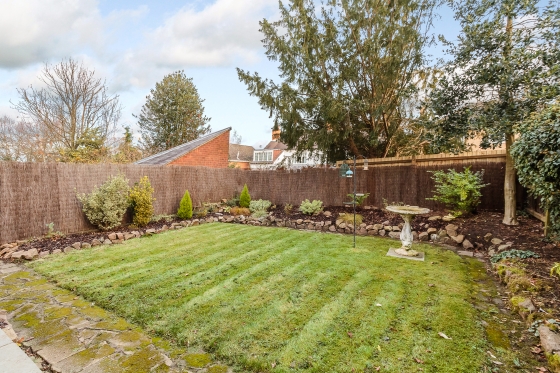 Back garden.
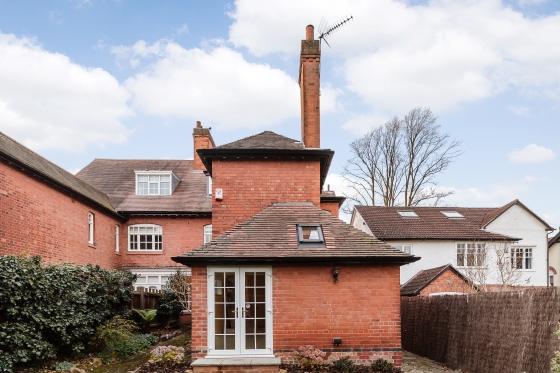


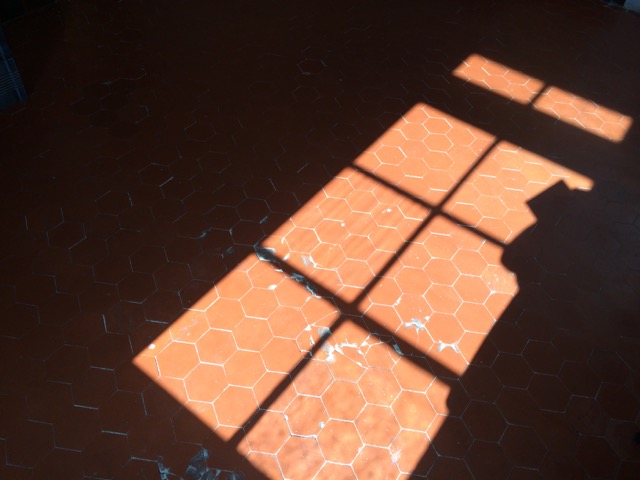
 And the ashes of Orlando and Doris will remain in the fern garden, so part of us remains too – not to mention the time capsule we left in that wall cavity underneath the stained glass window!


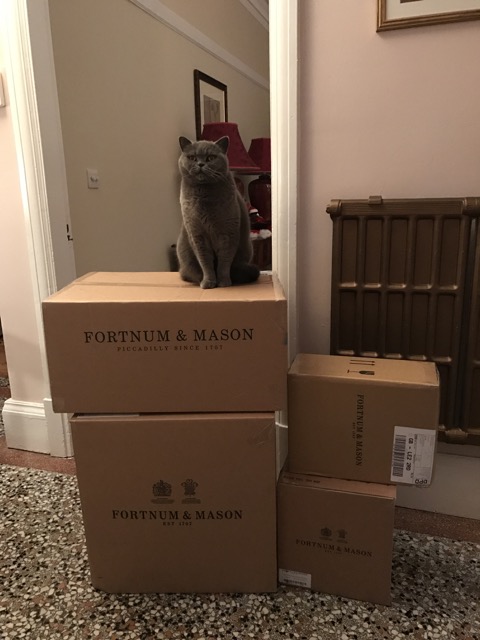


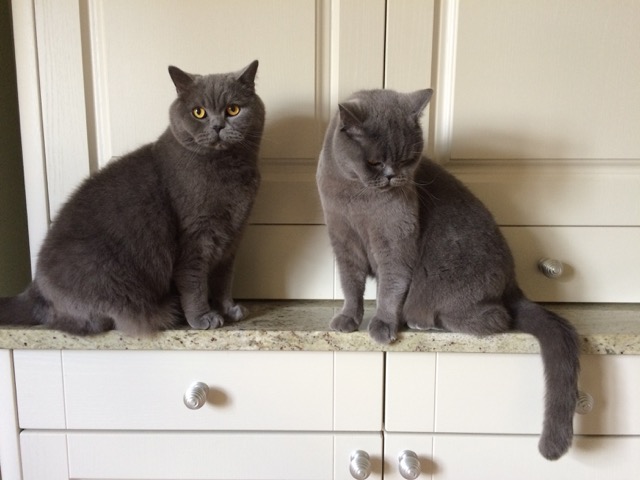


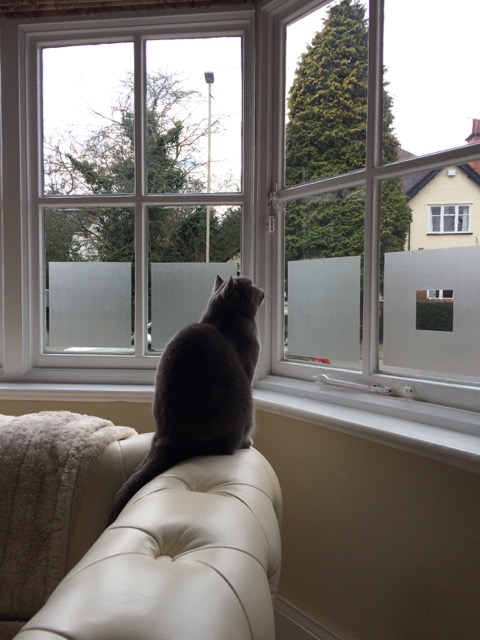


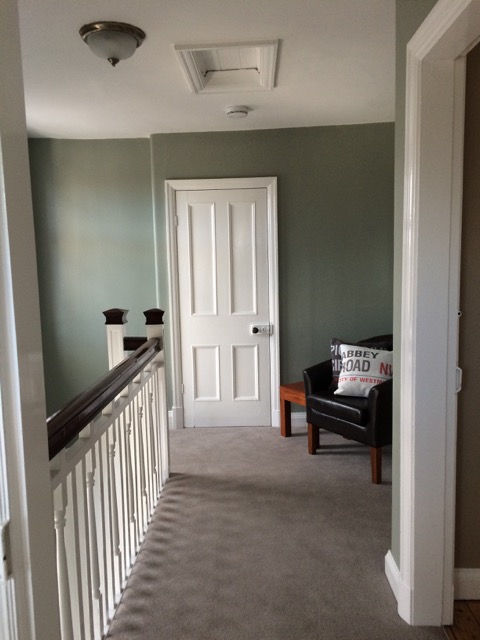


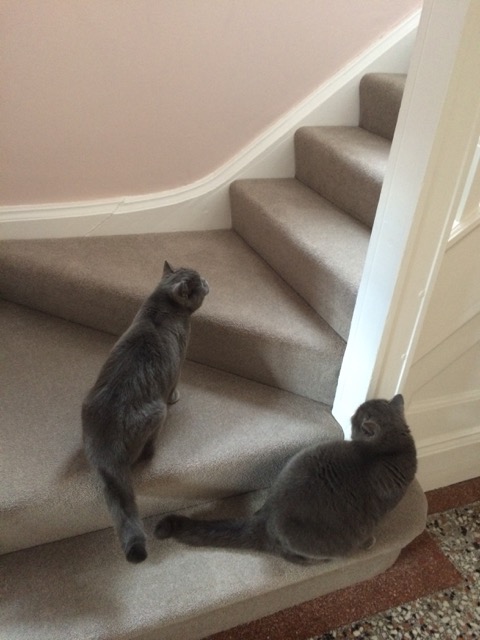 Inspection crew. It is no coincidence that the carpet is the same colour as the cats’ fur – the lighter carpet in the bedroom tends to get a “grey sheen” on it when it’s time to vacuum…